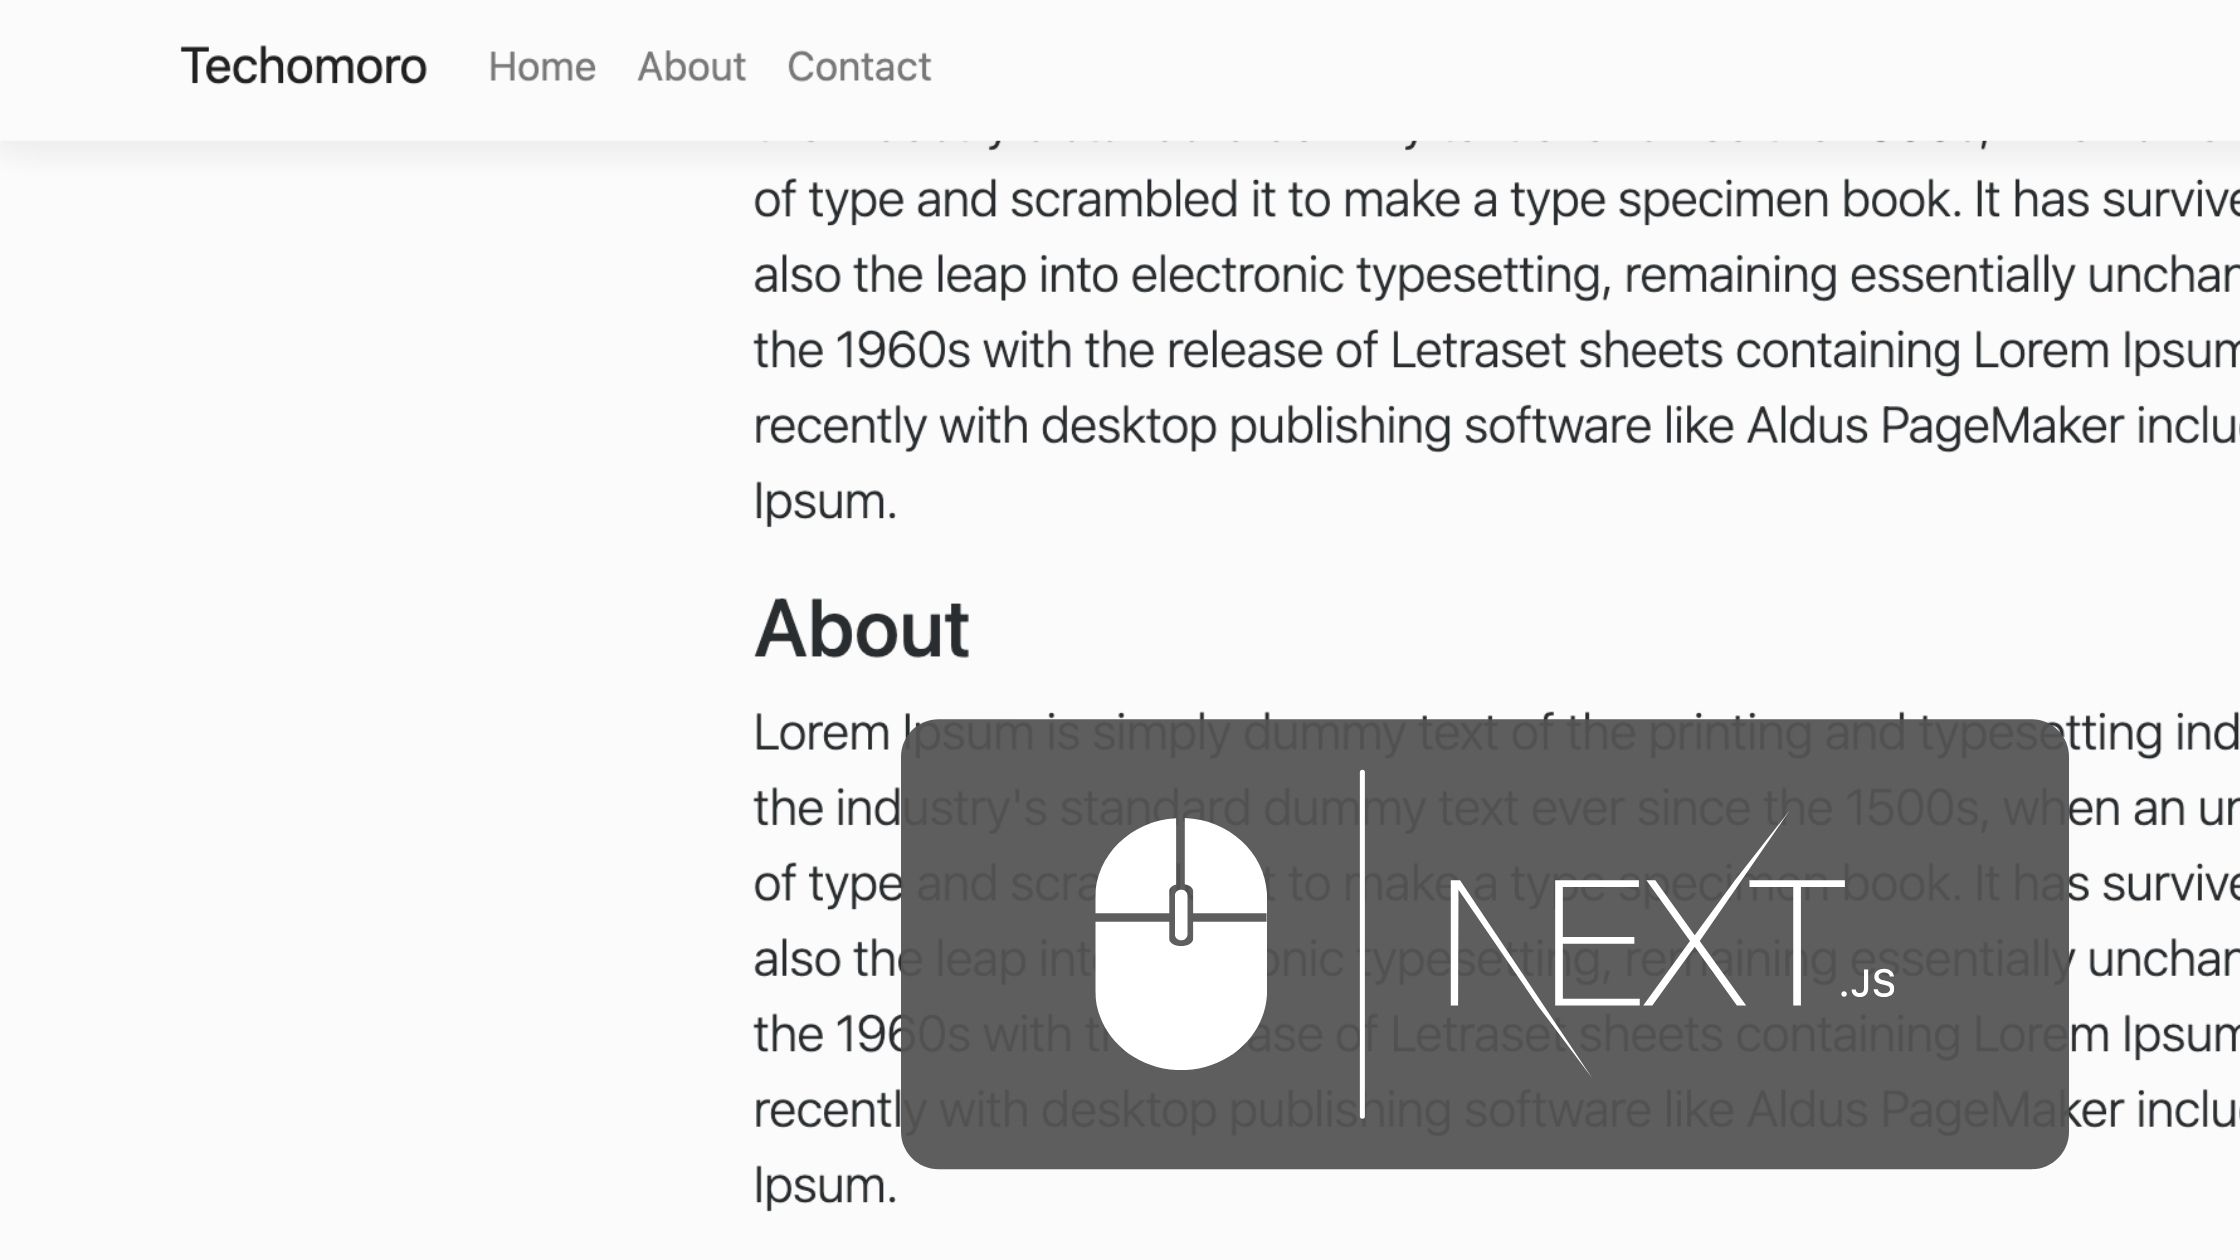
People love modern websites with perfect color combinations and animations. Here, we will discuss the method to change Navbar Style with mouse scroll in a Next.js website.
Prerequisites
The reader should be aware of the following technologies:-
- JavaScript ES6
- Basic CSS
- React.js library
- Nex.js framework
What we will learn
In this article, we will learn the method of using event listeners and getting the window height in a Next.js app when user scrolling.
Also, we use this window height and change the styles of Navbar.
After completing this article, we will create a demo app using Next.js that changes the height, background transparency, and box-shadow with scroll.

Video tutorial
If you would like to follow a video guide, the below youtube link will help you to cover up the entire steps in less than 2 minutes.
Note that the video is strictly based on this article.
Change Navbar Style With Scroll in a Next.js Website
So let us start coding the Navigation component. Because we usually keep the Navbar in a separate component. Here I am storing it in the Navigation.js component.
Listen for the scroll event and calculate the window height
One thing we need to note when developing an application using Next.js is that it can not access window property directly. Because Next.js applications are rendered on the server and so that it will not get the window property of the client.
But we can get access to the window property inside the useEffect hook. So listen for the mouse scroll and store the window height in a state clientWindowHeight.
const [clientWindowHeight, setClientWindowHeight] = useState("");

const handleScroll = () => {
  setClientWindowHeight(window.scrollY);
};

useEffect(() => {
  window.addEventListener("scroll", handleScroll);
  return () => window.removeEventListener("scroll", handleScroll);
});
Calculate background transparency, padding and box-shadow
Now using the clientWindowHeight value to calculate background transparency, padding, box-shadow and set these values to state backgroundTransparacy, padding, boxShadow respectively. We need to recalculate these values with any change in the clientWindowHeight state.
Here, the change in padding will affect the Navbar height.
const [backgroundTransparacy, setBackgroundTransparacy] = useState(0);
const [padding, setPadding] = useState(30);
const [boxShadow, setBoxShadow] = useState(0);


useEffect(() => {
  let backgroundTransparacyVar = clientWindowHeight / 600;

  if (backgroundTransparacyVar < 1) {
      let paddingVar = 30 - backgroundTransparacyVar * 20;
      let boxShadowVar = backgroundTransparacyVar * 0.1;
      setBackgroundTransparacy(backgroundTransparacyVar);
      setPadding(paddingVar);
      setBoxShadow(boxShadowVar);
  }
}, [clientWindowHeight]);
Use these values to style the Navbar
Now we can use these values to change the Navbar style. Here I am using the white background for the Navbar changing the transparency when scrolling.
background: `rgba(255, 255, 255, ${backgroundTransparacy})`,We can use any color to the Navbar. The RGB values can be get from the Google color picker.

The code for the Navbar component with adding these values in styles property will look the same as below.
return (
    <nav
      class="navbar navbar-expand-lg navbar-light fixed-top"
      style={{
        background: `rgba(255, 255, 255, ${backgroundTransparacy})`,
        padding: `${padding}px 0px`,
        boxShadow: `rgb(0 0 0 / ${boxShadow}) 0px 0px 20px 6px`,
      }}
    >
...
    </nav>
);
So whenever a scroll is happening the navbar style changes.
The complete Navigation.js file looks the same as below.
// components/Navigation.js

import { useEffect, useState } from "react";

export default function Navigation() {

  const [clientWindowHeight, setClientWindowHeight] = useState("");

  const [backgroundTransparacy, setBackgroundTransparacy] = useState(0);
  const [padding, setPadding] = useState(30);
  const [boxShadow, setBoxShadow] = useState(0);

  useEffect(() => {
    window.addEventListener("scroll", handleScroll);
    return () => window.removeEventListener("scroll", handleScroll);
  });

  const handleScroll = () => {
    setClientWindowHeight(window.scrollY);
  };

  useEffect(() => {
    let backgroundTransparacyVar = clientWindowHeight / 600;

    if (backgroundTransparacyVar < 1) {
      let paddingVar = 30 - backgroundTransparacyVar * 20;
      let boxShadowVar = backgroundTransparacyVar * 0.1;
      setBackgroundTransparacy(backgroundTransparacyVar);
      setPadding(paddingVar);
      setBoxShadow(boxShadowVar);
    }
  }, [clientWindowHeight]);

  return (
    <nav
      class="navbar navbar-expand-lg navbar-light fixed-top"
      style={{
        background: `rgba(255, 255, 255, ${backgroundTransparacy})`,
        padding: `${padding}px 0px`,
        boxShadow: `rgb(0 0 0 / ${boxShadow}) 0px 0px 20px 6px`,
      }}
    >
      <div className="container">
        <a class="navbar-brand" href="#">
          Techomoro
        </a>
        <button
          class="navbar-toggler"
          type="button"
          data-toggle="collapse"
          data-target="#navbarText"
          aria-controls="navbarText"
          aria-expanded="false"
          aria-label="Toggle navigation"
        >
          <span class="navbar-toggler-icon"></span>
        </button>
        <div class="collapse navbar-collapse" id="navbarText">
          <ul class="navbar-nav mr-auto">
            <li class="nav-item active">
              <a class="nav-link" href="#">
                Home
              </a>
            </li>
            <li class="nav-item">
              <a class="nav-link" href="#">
                About
              </a>
            </li>
            <li class="nav-item">
              <a class="nav-link" href="#">
                Contact
              </a>
            </li>
          </ul>
        </div>
      </div>
    </nav>
  );
}
Adding the Bootstrap library in Next.js
We have completed the core concept of this article. But when we tried to create and Navigation.js component and add it to our index.js file, it will show a broken view. Because we didn’t add any CSS.
We can use custom CSS or SCSS in the Next.js app but here, I am adding the Bootstrap library that contains the style for Navbar.
So install the Bootstrap library.
npm i bootstrap
Import the bootstrap.css file in the _app.js file.
// pages/_app.js

import "../styles/globals.css";
import "bootstrap/dist/css/bootstrap.css";

function MyApp({ Component, pageProps }) {
  return <Component {...pageProps} />;
}

export default MyApp;
Add some contents in the Home page
To test the scrolling in the demo app, we need to add some content to the page. So we can add some dummy contents in the index.js file.
Note that here we are giving a margin on the top because the Navbar is fixed top and at an absolute position.
<div style={{ marginTop: "7rem" }}>
...
</div>
The complete index.js file looks the same as below.
// pages/index.js

import Navigation from "../components/Navigation";

export default function Home() {
  return (
    <div>
      <Navigation />

      {/* Dummy data */}
      <div style={{ marginTop: "7rem" }}>
        <section id="home">
          <div class="container px-4">
            <div class="row gx-4 justify-content-center">
              <div class="col-lg-8">
                <h2>Home</h2>
                <p class="lead">
                  Lorem Ipsum is simply dummy text of the printing and
                  typesetting industry. Lorem Ipsum has been the industry's
                  standard dummy text ever since the 1500s, when an unknown
                  printer took a galley of type and scrambled it to make a type
                  specimen book. It has survived not only five centuries, but
                  also the leap into electronic typesetting, remaining
                  essentially unchanged. It was popularised in the 1960s with
                  the release of Letraset sheets containing Lorem Ipsum
                  passages, and more recently with desktop publishing software
                  like Aldus PageMaker including versions of Lorem Ipsum.
                </p>
              </div>
            </div>
          </div>
        </section>
      </div>
    </div>
  );
}
We need to add more content to the home page to test the scrolling well.
Codesandbox
Refer to the CodeSandbox link to view the live app. You can clone this project to your CodeSandbox account and edit the code also.
https://codesandbox.io/s/nifty-lalande-q3rsc
GitHub
You can always refer to the GitHub repository to clone this project, refer to the code and work on top of it.
https://github.com/techomoro/navbar-style-scroll-nextjs-demo-app
Summary
So in this article, we discussed the method to change Navbar style with the scroll in a Next.js website. We are changing the size, background, and the box-shadow of the Navbar with scroll.


Be the first to reply