
I know the title may lead to you a bit of confusion. Because some of you may not understand Memorize Word. We will discuss it later. I’m building this game Memorize word to learn the process of building a simple React application. We are also using the concept of Context API inside our React app.
Prerequisites
Throughout this article, we discuss React, Material UI, and JavaScript code. So, the reader must have a basic idea about all of this. Refer to the official documentation of React.js and the official page of Material UI for better understanding.
What we will learn
After completing this tutorial, we will learn:-
- To create a react project.
- Create custom components
- Using material UI in our project
- Using Context API for the state management.
What is Memorize Word game?
Before start coding the app, let’s discuss what really we are going to build. Memorize game is a simple gaming app that helps to increase our memory. There list a number of words on the screen. Memorize it and its position. Answer the question in the next step.
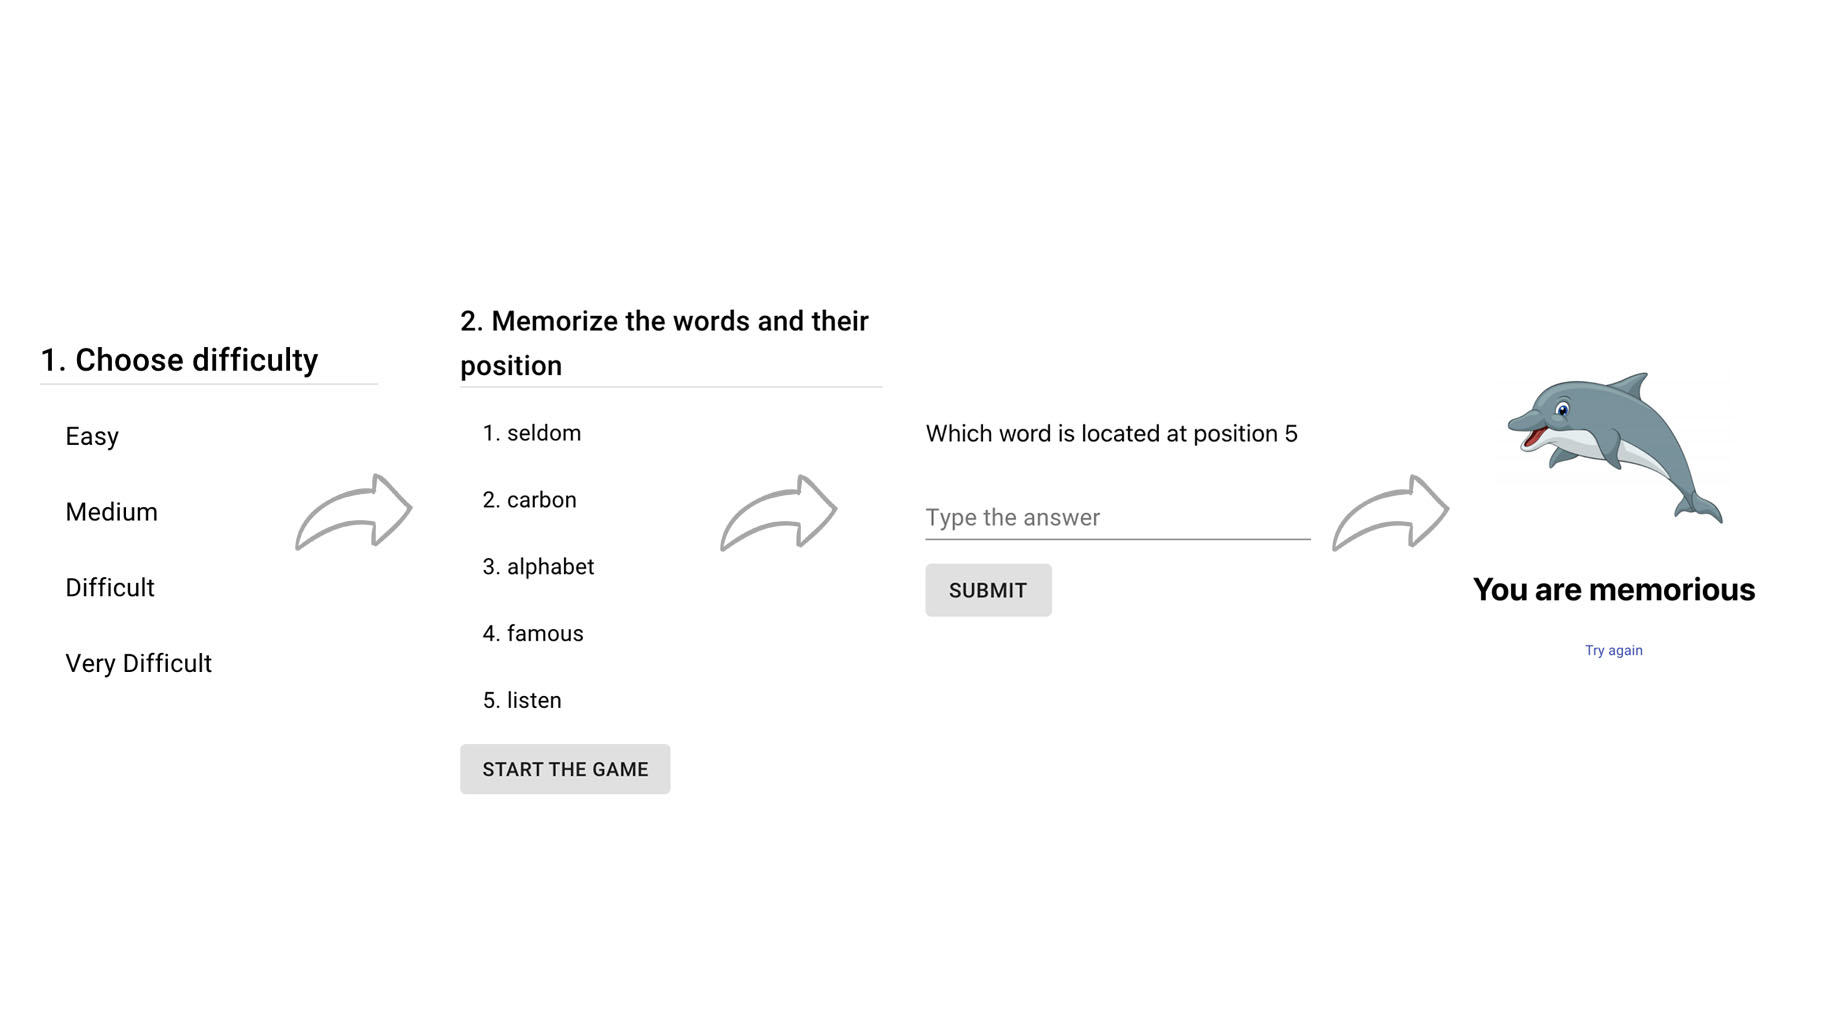
We can look at the steps to play this game.
- At the first step, we can choose the difficulty of the game from Easy, Medium, Difficult, Very difficult. With the increase in difficulty, the number of words that will list on the second step increases.
- We can see a number of words and their position number in this next step. Memorize the words and their position and press the “Start game” button.
- At the third step, we can see a question like “Which word is located at position x?”. Enter the word in the input box below. It will show whether the answer is correct or not.
- We have the option to try the game again.
The demo and workflow of the app are given below.
https://memorizeword.techomoro.com/

Build Memorize Word game using React
So, we have discussed the Memorize word game, and let us start building this game app using React.
Fo better understanding, I am giving the file structure of the app.

1. Create a new React project
The first step is setting up a React application on your system. This can be easily done using the NPX tool.
So, install Node.js on your system first and create a react application using NPX. Don’t bother about the term NPX, because it’s a tool coming with NPM(Node Package Manager) 5.2+ onwards which will install on your system with Node.js itself.
If you need further assistance in the installation of React on your system, use the below links.
Install React on Windows, Ubuntu, and macOS
npx create-react-app react-memorize-word
This command will create a react application with the project name react-memorize-word
Now enter the project directory and start the app.
cd react-memorize-word
npm start
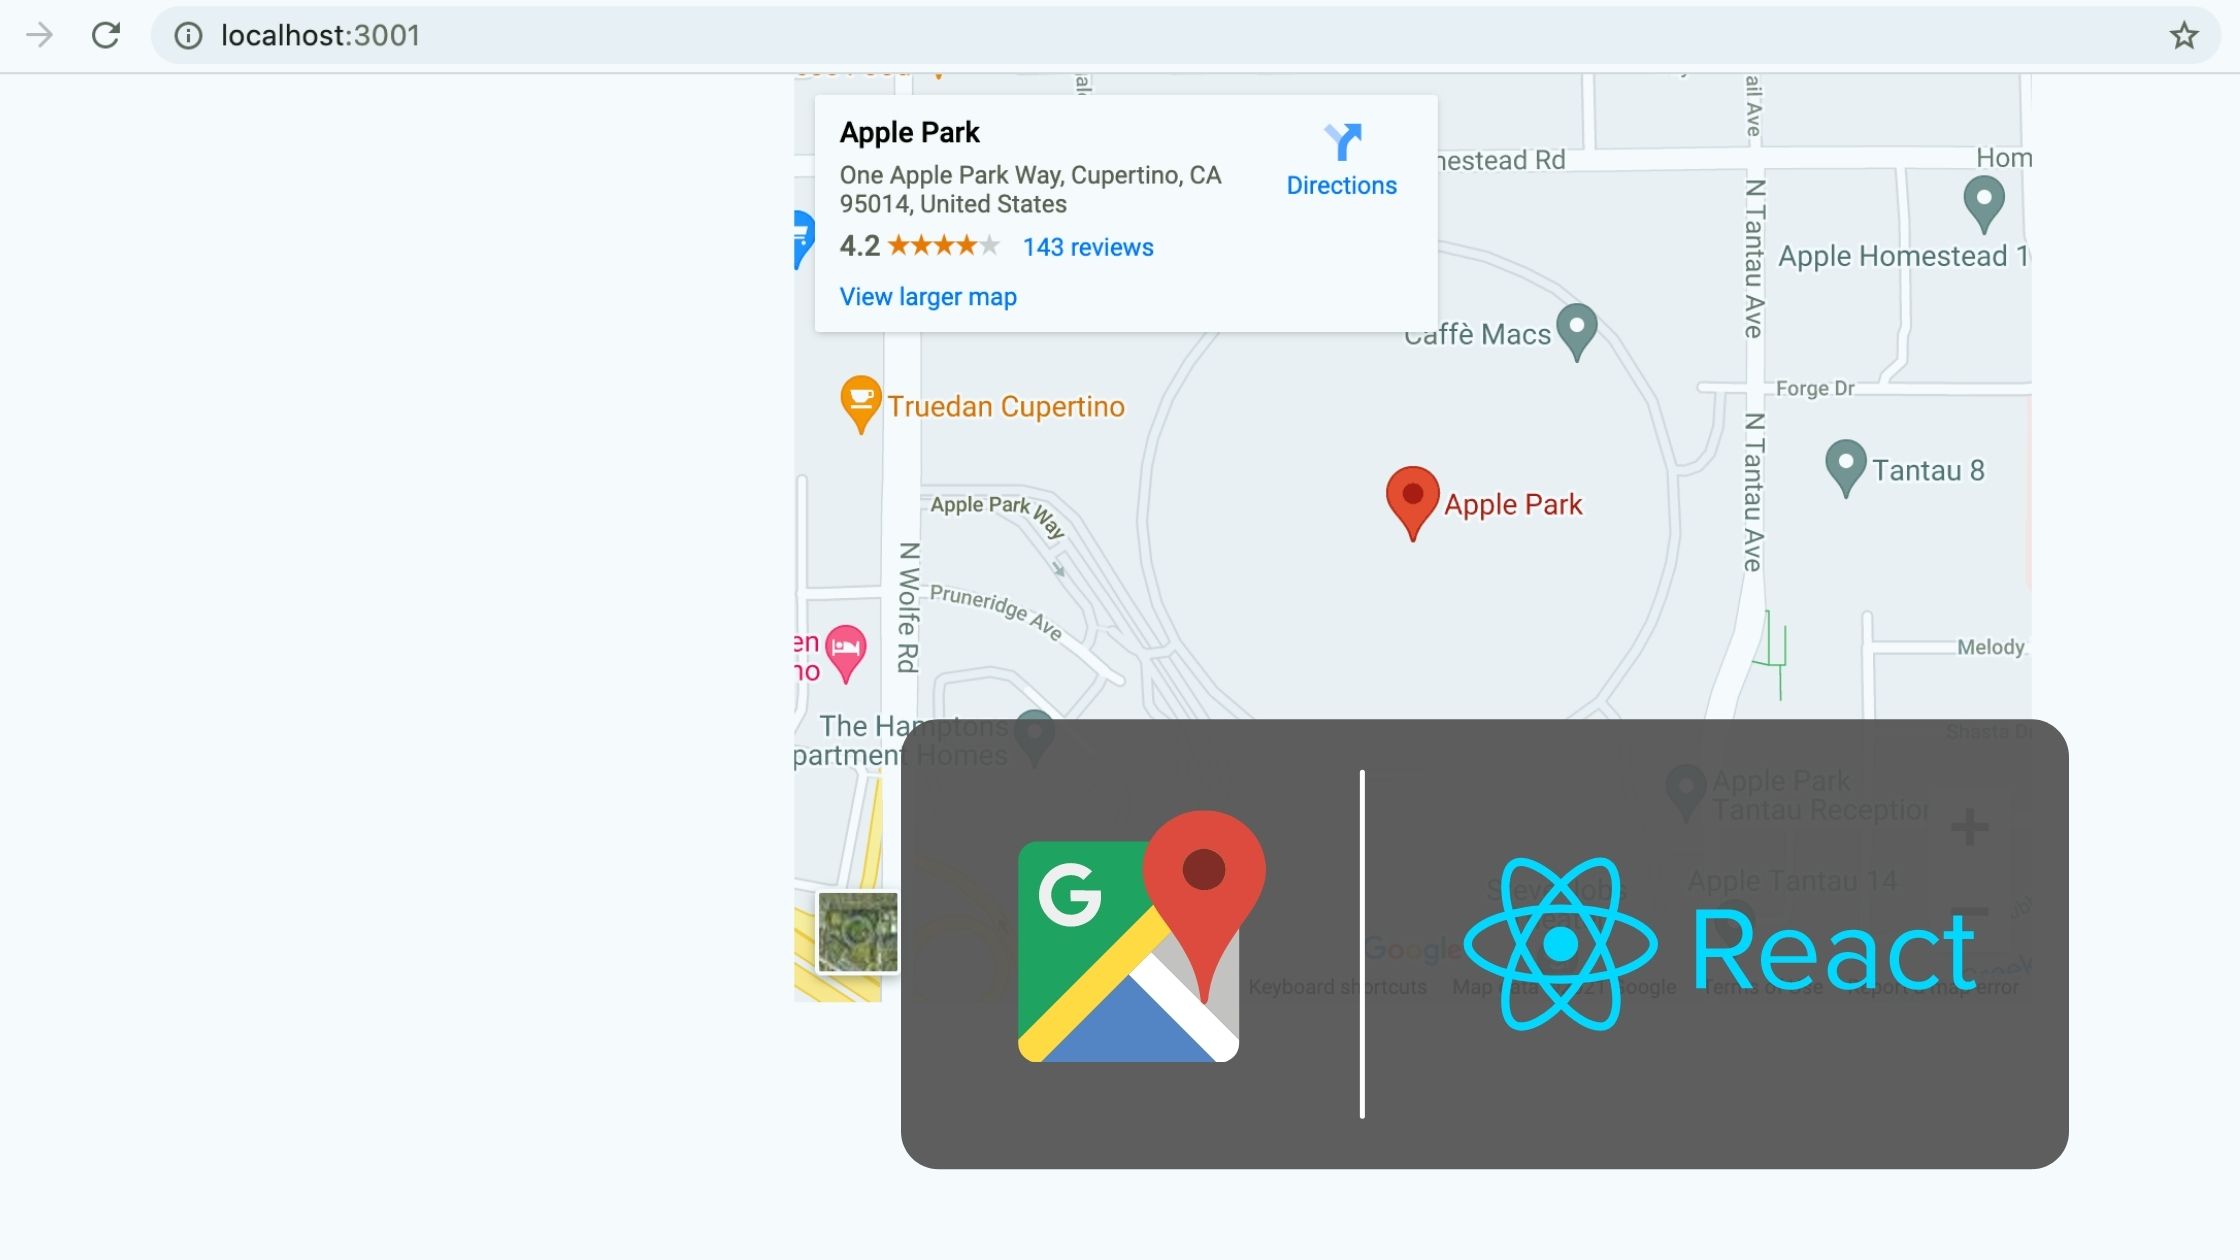
It will open up the React application we have created in our browser window with the address https://localhost:3000. The port may vary if 3000 is busy.

Now we can use our favorite code editor to edit our project. I personally recommend Visual Studio Code.
2. Install and setup the material UI
In previous articles, we used Bootstrap to style a React app. But in this article, we are using material-UI. So, install material UI components using NPM.
npm i @material-ui/core
npm i @material-ui/lab
npm i @material-ui/icons
3. Create a Header component to show name of the game
We can code a simple Header.jsx component to display the name of the game Memorize word.

The code for the Header component looks as below.
// src/components/Header.jsx

import React from "react";
import { makeStyles } from "@material-ui/core/styles";

const useStyles = makeStyles((theme) => ({
  nav: {
    width: "100%",
    position: "fixed",
    textAlign: "center",
    paddingTop: "1rem",
  },
}));

export default function Header(props) {
  const classes = useStyles();
  return (
    <div className={classes.nav}>
      <h2>Memorize word</h2>
    </div>
  );
}
4. A component to choose the difficulty
On the first screen of our app, we are choosing the difficulty from “Easy”, “Medium”, “Difficult”, “Very Difficult”. So we want to code it inside SelectDifficulty.jsx component.

Selecting each option will call the function generateRandomWords passed using context API.
This function generates random words according to the difficulty we are passing to it.
// src/components/SelectDifficulty.jsx

import React, { useContext } from "react";
import AppContext from "../AppContext";
import { makeStyles } from "@material-ui/core/styles";
import List from "@material-ui/core/List";
import { ListItem, Typography } from "@material-ui/core";
import ListItemText from "@material-ui/core/ListItemText";
import Divider from "@material-ui/core/Divider";

const useStyles = makeStyles((theme) => ({
  root: {
    width: "100%",
    maxWidth: 360,
    backgroundColor: theme.palette.background.paper,
  },
}));

export default function SelectDifficulty(props) {
  const classes = useStyles();

  const value = useContext(AppContext);
  let { generateRandomWords } = value;

  return (
    <div className={classes.root}>
      <Typography variant="h6" component="h6">
        1. Choose difficulty
      </Typography>
      <Divider />
      <List component="nav" aria-label="secondary mailbox folders">
        <ListItem button onClick={() => generateRandomWords("easy")}>
          <ListItemText primary="Easy" />
        </ListItem>
        <ListItem button onClick={() => generateRandomWords("medium")}>
          <ListItemText primary="Medium" />
        </ListItem>
        <ListItem button onClick={() => generateRandomWords("difficult")}>
          <ListItemText primary="Difficult" />
        </ListItem>
        <ListItem button onClick={() => generateRandomWords("veryDifficult")}>
          <ListItemText primary="Very Difficult" />
        </ListItem>
      </List>
    </div>
  );
}
5. List the words
Now we need a component WordList.jsx to list the generated words.

Words will be generated by generateRandomWords() function from the App.js component.
It is passed to the WordList component via Context API.
In this component, there is another button called Start the game, which will generate a question using a random position from the list of words.
// src/components/WordList.jsx

import React, { useContext } from "react";
import AppContext from "../AppContext";
import { makeStyles } from "@material-ui/core/styles";
import List from "@material-ui/core/List";
import ListItem from "@material-ui/core/ListItem";
import ListItemText from "@material-ui/core/ListItemText";
import { Divider, Typography, Button } from "@material-ui/core";

const useStyles = makeStyles((theme) => ({
  root: {
    width: "100%",
    maxWidth: 360,
    backgroundColor: theme.palette.background.paper,
  },
}));

export default function WordList(props) {
  const classes = useStyles();

  const value = useContext(AppContext);
  let { randomWordsToShow, setStartedGame } = value;

  return (
    <div className={classes.root}>
      <Typography variant="h6" component="h6">
        2. Memorize the words and their position
      </Typography>
      <Divider />
      <List component="nav" aria-label="secondary mailbox folders">
        {randomWordsToShow.map((word, index) => {
          return (
            <ListItem>
              <ListItemText primary={index + 1 + ". " + word} />
            </ListItem>
          );
        })}
      </List>
      <Button
        variant="contained"
        color="default"
        disableElevation
        onClick={() => setStartedGame(true)}
      >
        Start the game
      </Button>
    </div>
  );
}
6. Question component
After pressing the Start the game button, it shows another component with a question. We can call it a Question.jsx component.

Does this component contains a question in a format like Which word is located at position x ?.
The value of x is passed from App component.
An input field is also shown here to type the word or answer. This is also passed to the App component for further processing.
// src/components/Question.jsx

import React, { useContext } from "react";
import AppContext from "../AppContext";

import { makeStyles } from "@material-ui/core/styles";
import { TextField, Button } from "@material-ui/core";

const useStyles = makeStyles((theme) => ({
  root: {
    width: "100%",
    maxWidth: 360,
    backgroundColor: theme.palette.background.paper,
  },
  button: {
    marginTop: "1rem",
  },
}));

export default function Question(props) {
  const classes = useStyles();

  const value = useContext(AppContext);
  let { randomPosition, setTypedWord, typedWord, submitAnswer } = value;

  return (
    <div className={classes.root}>
      <p>Which word is located at position {randomPosition}</p>
      <form onSubmit={submitAnswer}>
        <TextField
          id="standard-basic"
          fullWidth
          label="Type the answer"
          onChange={(e) => setTypedWord(e.target.value)}
          value={typedWord}
        />

        <Button
          variant="contained"
          color="default"
          disableElevation
          className={classes.button}
          type="submit"
        >
          Submit
        </Button>
      </form>
    </div>
  );
}
7. Result component to show the result
Now we can code a simple result component that shows an image and message according to the answer.

If the answer is true, it shows an image of Dolfin. Otherwise, it shows an image of a character who is having a short memory in the movie “Finding Nemo”.
// src/components/Result.jsx

import React, { useContext } from "react";
import AppContext from "../AppContext";
import { Link } from "@material-ui/core";

import { zoomInUp } from "react-animations";
import Radium, { StyleRoot } from "radium";

export default function TransitionsModal() {
  const value = useContext(AppContext);
  let { trueOrFalse } = value;

  const styles = {
    root: {
      textAlign: "center",
    },
    bounce: {
      animation: "x 1s",
      animationName: Radium.keyframes(zoomInUp, "zoomInUp"),
    },
    image: {
      maxWidth: "15rem",
    },
    text: {
      fontSize: "2rem",
      fontWeight: "bold",
    },
  };

  let refreshPage = () => {
    window.location.reload();
  };

  console.log(trueOrFalse);

  return (
    <div style={styles.root}>
      {trueOrFalse ? (
        <div>
          <StyleRoot>
            <div className="test" style={styles.bounce}>
              <img src="/assets/images/dolphin.jpeg" style={styles.image} />
              <p className="text" style={styles.text}>
                You are memorious
              </p>
            </div>
          </StyleRoot>
          <Link component="button" variant="body2" onClick={refreshPage}>
            Try again
          </Link>
        </div>
      ) : (
        <div>
          <StyleRoot>
            <div className="test" style={styles.bounce}>
              <img src="/assets/images/nemo.jpg" style={styles.image} />
              <p className="text" style={styles.text}>
                Try to improve your memory
              </p>
            </div>
          </StyleRoot>
          <Link component="button" variant="body2" onClick={refreshPage}>
            Try again
          </Link>
        </div>
      )}
    </div>
  );
}
8. Create a context
Inside the src directory, create a file named AppContext.js. From there, export a context named AppContext with createContext API.
// src/AppContext.js

import React from "react";

const AppContext = React.createContext();

export default AppContext;
9. Code the App component
In this app, all the logical operations are defined in the App.js component and passed to other components via context API.
We will import the AppContext component and all other components to the App component first.
Then, we need two packages random-words and random-number.
- random-words package – Creates an array of random words.
- random-number package – Creates random numbers.
9.1 Function to generate random words
In, App component, we need a function generateRandomWords() to generate random words. The number of words to generate is decided according to the difficulty passed to the function.
let generateRandomWords = (selectedDifficulty) => {
    let numberOfWords =
      selectedDifficulty === "easy"
        ? 1
        : selectedDifficulty === "medium"
        ? 3
        : selectedDifficulty === "difficult"
        ? 5
        : selectedDifficulty === "veryDifficult"
        ? 10
        : null;
    let generatedRandomWords = randomWords(numberOfWords);
    console.log(generatedRandomWords);
    setRandomWordsToShow(generatedRandomWords);
    generateRandomPosition(generatedRandomWords);
};
9.2 Function to generate a random position
At the same time as creating random words, we will create random positions also. This position is used within the question.
let generateRandomPosition = (generatedRandomWords) => {
    let maxPosition = generatedRandomWords.length;
    let randomWordPosition = rn({
      min: 1,
      max: maxPosition,
      integer: true,
    });
    setRandomPosition(randomWordPosition);
};
9.3 Submit answer function
This function determines whether the submitted answer is true or false.
let submitAnswer = (e) => {
    e.preventDefault();
    console.log(typedWord, randomWordsToShow, randomPosition);
    if (typedWord == randomWordsToShow[randomPosition - 1]) {
      setTrueOrFalse(true);
    } else {
      setTrueOrFalse(false);
    }
    setAnswered(true);
};
9.5 Wrap the entire app in AppContext.Provider component.
Because we are using Context API in our app, we need to wrap the entire app in AppContext.Provider component.
All the states and functions declared and defined in the App component are passed to this provider.
<AppContext.Provider
        value={{
          randomWordsToShow,
          typedWord,
          startedGame,
          typedWord,
          randomPosition,
          trueOrFalse,

          setStartedGame,
          generateRandomWords,
          setTypedWord,
          submitAnswer,
        }}
      >
</AppContext.Provider>
9.6 Define the components to render
Now we can code the components to render inside the AppContext.Provider component. Each component is switched according to the change in states.
   <Grid
          container
          spacing={0}
          direction="column"
          alignItems="center"
          justify="center"
          style={{ minHeight: "100vh" }}
        >
          {randomWordsToShow.length !== 0 ? (
            startedGame ? (
              answered ? (
                <Result />
              ) : (
                <Question />
              )
            ) : (
              <WordList />
            )
          ) : (
            <SelectDifficulty />
          )}
   </Grid>
So that the complete App.js file looks the same as below.
// src/App.js

import React, { useEffect, useState } from "react";
import AppContext from "./AppContext";

import { Grid } from "@material-ui/core";
import Header from "./components/Header";
import WordList from "./components/WordList";
import SelectDifficulty from "./components/SelectDifficulty";
import Question from "./components/Question";
import Result from "./components/Result";

var randomWords = require("random-words");
var rn = require("random-number");

function App() {
  const [randomWordsToShow, setRandomWordsToShow] = useState([]);
  const [typedWord, setTypedWord] = useState("");
  const [startedGame, setStartedGame] = useState(false);
  const [randomPosition, setRandomPosition] = useState(1);
  const [answered, setAnswered] = useState("");
  const [trueOrFalse, setTrueOrFalse] = useState(false);

  let generateRandomWords = (selectedDifficulty) => {
    let numberOfWords =
      selectedDifficulty === "easy"
        ? 1
        : selectedDifficulty === "medium"
        ? 3
        : selectedDifficulty === "difficult"
        ? 5
        : selectedDifficulty === "veryDifficult"
        ? 10
        : null;
    let generatedRandomWords = randomWords(numberOfWords);
    console.log(generatedRandomWords);
    setRandomWordsToShow(generatedRandomWords);
    generateRandomPosition(generatedRandomWords);
  };

  let generateRandomPosition = (generatedRandomWords) => {
    let maxPosition = generatedRandomWords.length;
    console.log(maxPosition, "lll");
    let randomWordPosition = rn({
      min: 1,
      max: maxPosition,
      integer: true,
    });
    setRandomPosition(randomWordPosition);
  };

  let submitAnswer = (e) => {
    e.preventDefault();
    console.log(typedWord, randomWordsToShow, randomPosition);
    if (typedWord == randomWordsToShow[randomPosition - 1]) {
      setTrueOrFalse(true);
    } else {
      setTrueOrFalse(false);
    }
    setAnswered(true);
  };
  return (
    <div className="App">
      <Header />
      <AppContext.Provider
        value={{
          randomWordsToShow,
          typedWord,
          startedGame,
          typedWord,
          randomPosition,
          trueOrFalse,

          setStartedGame,
          generateRandomWords,
          setTypedWord,
          submitAnswer,
        }}
      >
        <Grid
          container
          spacing={0}
          direction="column"
          alignItems="center"
          justify="center"
          style={{ minHeight: "100vh" }}
        >
          {randomWordsToShow.length !== 0 ? (
            startedGame ? (
              answered ? (
                <Result />
              ) : (
                <Question />
              )
            ) : (
              <WordList />
            )
          ) : (
            <SelectDifficulty />
          )}
        </Grid>
      </AppContext.Provider>
    </div>
  );
}

export default App;
Codesandbox
Refer to the CodeSandbox link to view the live app.
https://codesandbox.io/s/mutable-frost-ts6f2
GitHub
You can always refer to the GitHub repository to clone this project.
https://github.com/techomoro/react-memorize-word
Summary
Here we discussed the steps to create a memorize word game app using React. Other than creating an app, I focused on teaching the methods of using the Context API and material-UI in a React app.

Be the first to reply