We have already discussed how to use the recoil state management tool in a Nex.js app. It also covers the basics of the Recoil state management library. I strongly recommend referring to the article before continuing. Here we will discuss the steps to use the Recoil state management tool in a Next.js app.
Prerequisites
To follow this article, the reader should be aware of the following technologies:-
- JavaScript ES6
- React.js library
- State-management tools in React
- Next.js framework
Also referring to my previous article, about using Recoil in a React app will give you a better understanding of the following:-
- Basic terms to know before start working with Recoil
- Why Recoil over Context API and Redux
I am giving the URL to the article below.
https://www.techomoro.com/how-to-use-recoil-state-management-tool-in-react/
What we will learn
In this article, we will learn the following things:-
- To Create a Next.js project
- Creating components in a Next.js app
- Integrating Recoil in our app
- Structuring a Next.js Recoil project
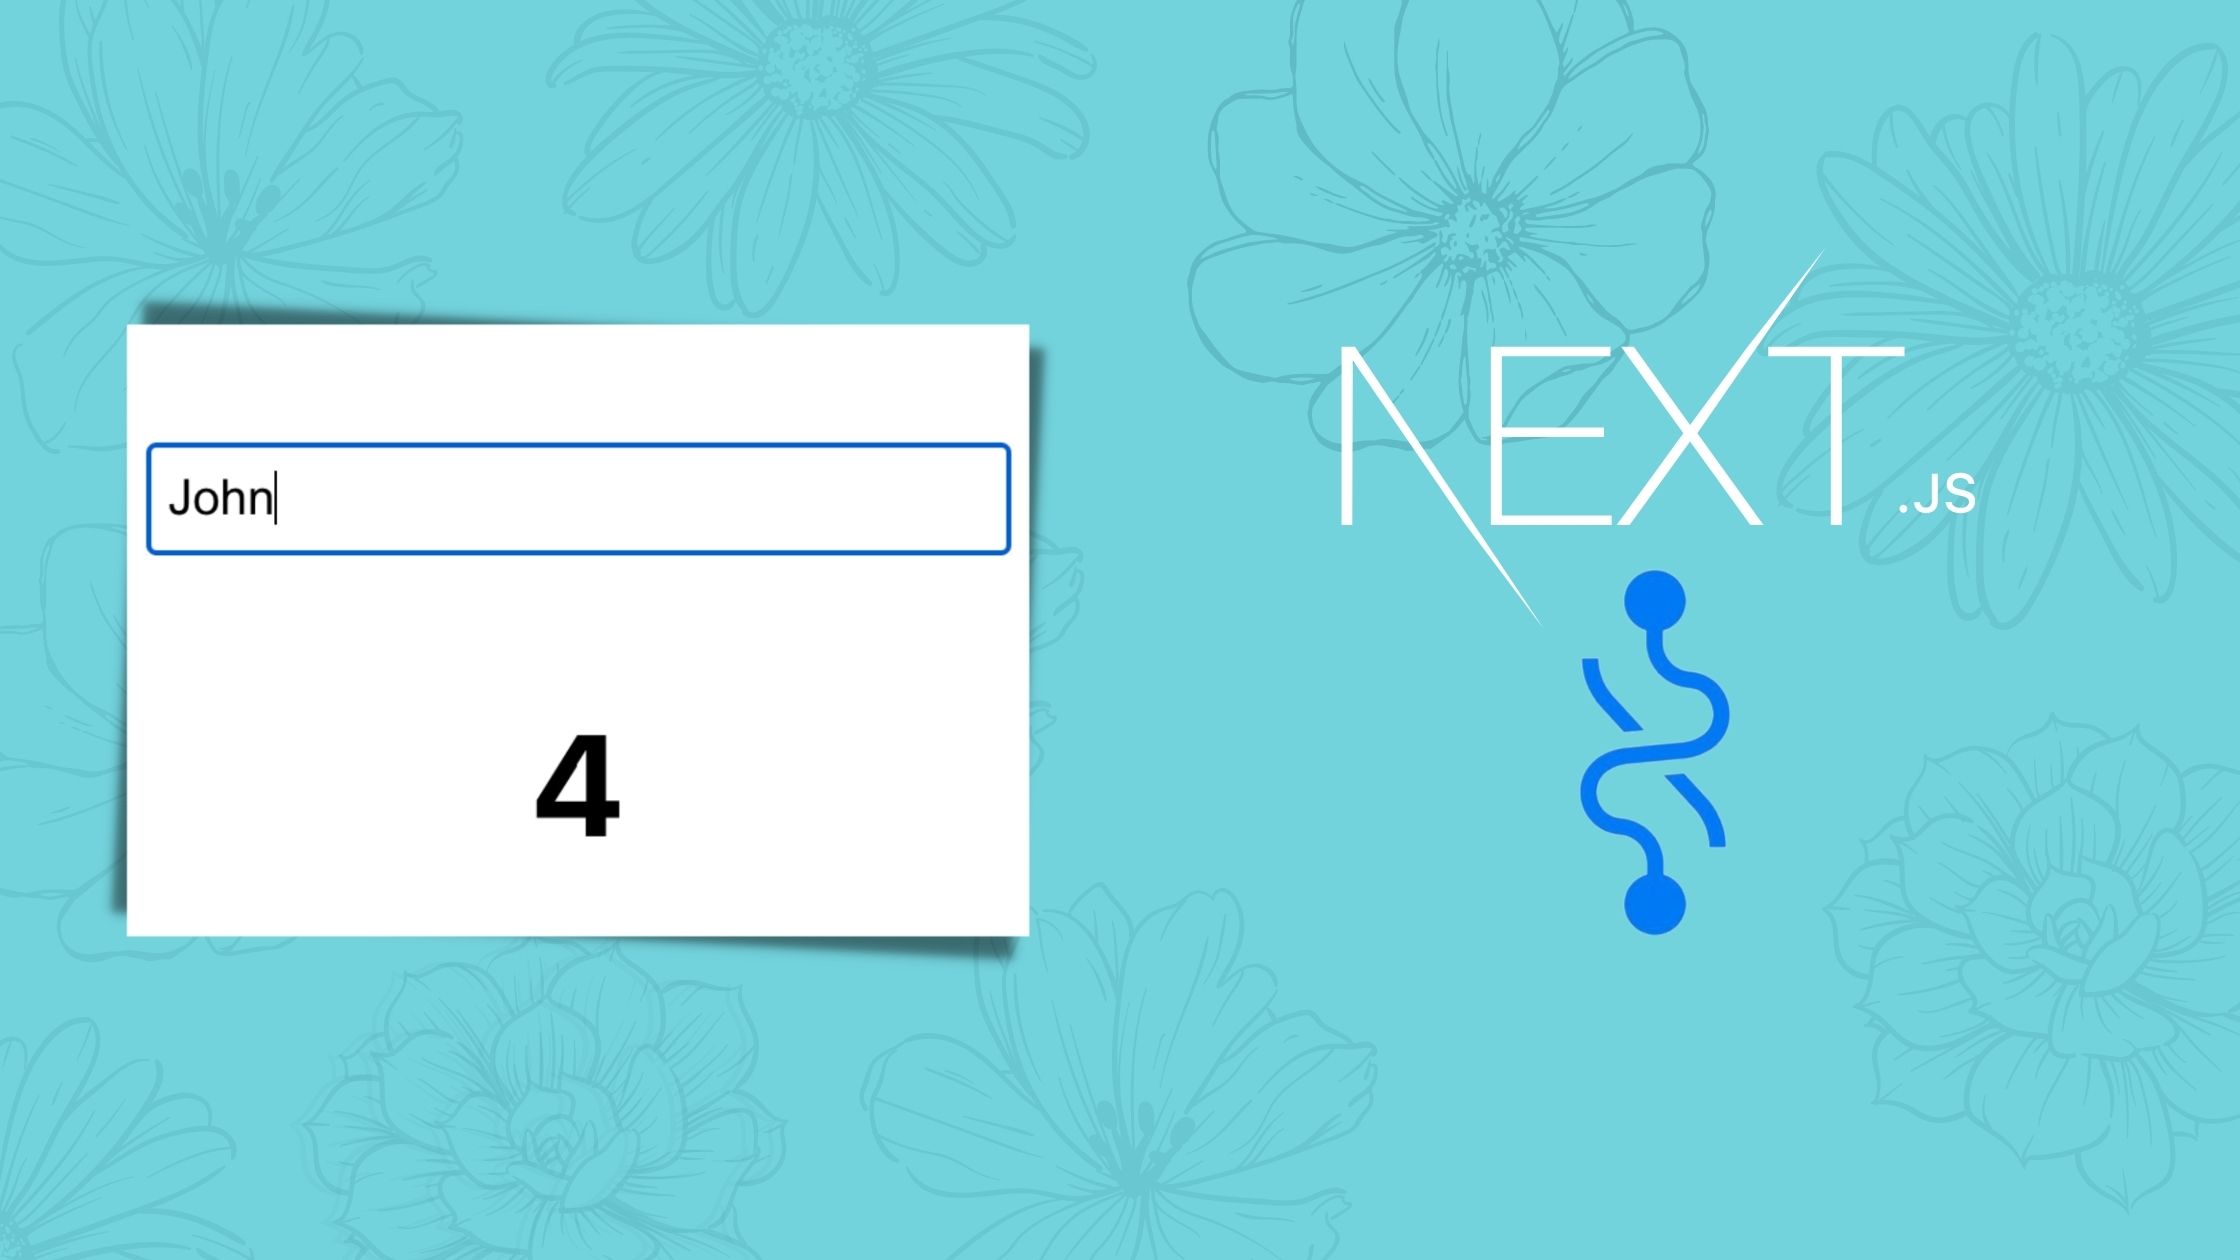
After completing this article, we will create a demo app using Next.js and Recoil that accepts a name and displays its length.

Use Recoil State Management Tool in Next.js
Without wasting any second, let us start the steps to use the recoil state management tool in a Next.js app.
Refer to the file structure of the app before continuing the article. Because we are not explaining the position of files/components going to create.

Create a Next.js App
First, we need to create a Next.js application using the NPX tool. Don’t worry about NPX, because it’s a tool coming with NPM(Node Package Manager) 5.2+ onwards.
So, after a successful installation of Node.js, create a Next.js application using NPX.
npx create-next-app nextjs-recoil-demo-app
This command will create a Next.js application with the project name nextjs-recoil-demo-app.
Now enter the project directory and start the app.
cd nextjs-recoil-demo-app
npm run dev
It will open up the Next application we have created in our browser window with the address https://localhost:3000.

If you need further assistance in this step, I wrote an article to install and set up a Next.js app on Windows 10.
We can open up the project with Visual Studio Code or any other code editor.
Install the Recoil package
We can simply install the Recoil package using NPM. Execute the below command in the terminal.
npm install recoil
Wrap the entire app inside RecoilRoot
To start using the Recoil state management tool inside our Next.js app, we need to wrap the entire app inside a RecoilRoot component. If you are already familiar with Redux or Context API, this step will be common.
Inside pages/_app.js, wrap the contents inside the MyApp function with RecoilRoot.
// pages/_app.js

import "../styles/globals.css";
import { RecoilRoot } from "recoil";

function MyApp({ Component, pageProps }) {
  return (
    <RecoilRoot>
      <Component {...pageProps} />
    </RecoilRoot>
  );
}

export default MyApp;
Declare the Atom
We need to create a directory named atoms to store all our atoms. We can simply define an atom as a global state.
Now for our app, let us create an atom file name.js inside the atoms directory. This atom is used to store the name that we type inside the input component.
// atoms/name.js

import { atom } from "recoil";

export const nameState = atom({
  key: "nameState", // unique ID (with respect to other atoms/selectors)
  default: "", // default value (aka initial value)
});
Declare the Selector
Selectors are simply the pure functions that accept atoms, execute any logical operations, and return a result.
Here in our app, we are defining a selector lengthState that accepts our atom nameState, finds its length, and returns it.
// selectors/name.js

import { selector } from "recoil";
import { nameState } from "../atoms/name";

export const lengthState = selector({
  key: "lengthState", // unique ID (with respect to other atoms/selectors)
  get: ({ get }) => {
    const name = get(nameState);
    const lengthOfName = name.length;
    return lengthOfName;
  },
});
Create an Input component
In this component, we are creating an input box that accepts any string. We are storing this string in a recoil state as an atom (global state).
In React, we have a hook called useState to declare state variables inside a component. In the same manner, we have useRecoilState to declare global state variables in our app.
We already initialized the value of this state when defining the atom.
// components/InputComponent.js

import { useRecoilState } from "recoil";
import { nameState } from "../atoms/name";

export default function InputComponent() {
  const [name, setName] = useRecoilState(nameState);

  let handleChangeInput = (e) => {
    setName(e.target.value);
  };

  return (
    <input
      type="text"
      placeholder="Enter the string"
      onChange={handleChangeInput}
      value={name}
    />
  );
}
Create the Length component
We have a hook by Recoil useRecoilValue, that that enables the feature to use the atom values and subscribe to it. Subscribing to the state will re-render the component with any change in the atom.
// components/LengthComponent.js

import { useRecoilValue } from "recoil";
import { lengthState } from "../selectors/name";

export default function LengthComponent() {
  const length = useRecoilValue(lengthState);

  return <h3 className="length">{length}</h3>;
}
Setup the Home page
Now let us import these InputComponent and LengthComponent to our home page. So the code for the home page (pages/index.js) will look the same as below.
// pages/index.js

import InputComponent from "../components/InputComponent";
import LengthComponent from "../components/LengthComponent";

export default function Home() {
  return (
    <div className="main">
      <InputComponent />
      <LengthComponent />
    </div>
  );
}
Add some styles to our app
Add some styles to make our app a bit shinier. We are creating a file globals.css inside the styles directory and this file will be imported into our pages/_app.js file. We already imported it in the first step.
// styles/globals.css

.main {
  text-align: center;
  margin-top: 10rem;
}
input {
  height: 2rem;
  width: 20rem;
  border: 1px solid #c9c9c9;
  font-size: 1.2em;
  padding: 0.3rem;
  padding-left: 0.5rem;
  padding-right: 0.5rem;
}
.length {
  font-size: 3.5em;
}
Codesandbox
Refer to the CodeSandbox link to view the live app. You can clone this project to your CodeSandbox account and edit the code also.
https://codesandbox.io/s/busy-noether-m052w
GitHub
You can always refer to the GitHub repository to clone this project, refer to the code and work on top of it.
https://github.com/techomoro/nextjs-recoil-demo-app
Summary
So in this article, we discussed the steps to use the Recoil state management tool in a Next.js app. Here, we are using the best folder and file structure. Codesandbox and GithubRepository links are also added in this article.


Be the first to reply