
In this article, we will be discussing how to create a blog by connecting Strapi CMS and Next.js 14 – App Router with GraphQL and TypeScript support.
The latest version of Next.js 14 offers plenty of new features and changes compared to its older versions, with one of the major changes being the App Router. Similarly, Strapi 4 also comes with distinct changes in the dashboard and API endpoints.
For creating a blog, we’ll use the latest Next.js and Strapi versions. APIs are created and manipulated using GraphQL, and TypeScript is used for a better coding experience.
Prerequisites
I assume that the reader has a fundamental knowledge of the following aspects:
- Setup a Strapi App and install the GraphQL plugin
- Creating Content Types in Strapi
- Building an application using the Next.js framework
- Working with the Next.js 14 App Router
What we will learn
In this article, we will learn to:-
- Create a MySQL database locally with MAMP(use XAMPP for other operating systems)
- Build a Strapi CMS and set the GraphQL plugin
- Creating Content Types for the Home page and Post
- Create a Next.js 14 app with an App router
- Connect Next.js app and Strapi CMS
After completing the article, we will learn to create a Next.js app with the workflow given below.

Create a MySQL Database Locally using MAMP (for MacOS)
We need to install MAMP to create a MySQL database. MAMP provides phpMyAdmin for managing the databases graphically.

Create a database named strapi-blog-cms graphically using phpMyAdmin. It can be accessed from the browser.
http://localhost:8888/phpmyadmin

Inside the Preferences, we can see the MySQL port is 8889. We will use this for the Strapi installation in the upcoming steps.

Note: If you are using Windows or any other operating system, download and use XAMPP.
Create a Strapi App
To create a Strapi app, we can use the following command:
npx create-strapi-app@latestOur project name is strapi-blog-cms. We can choose the database for our Strapi app. Here we are using the MySQL database. We already created a database named strapi-blog-cms in the previous step.
Refer to the below screenshot for further understanding. Use the MySQL port number 8889 and username and password as root.

To run the Strapi app, please use the command provided below.
cd strapi-blog-cms
npm run develop
Refer to the screenshot below.

This will run the Strapi app and we can access it from the browser using the below URL.
http://localhost:1337/admin
To begin using Strapi, you must first create an Admin user. These login credentials will allow you to access the Strapi dashboard and manage content.

Once you complete the sign-up process, you will be directed to the Strapi dashboard.

Install GraphQL Plugin for Strapi
To enable GraphQL endpoints in Strapi, we have to install the GraphQL plugin. Use the below npm command.
npm run strapi install graphqlAfter restarting, the GraphQL plugin can be found in the Strapi dashboard under the plugins section.

Create a Single Type for Home page
Now create a data type that can store all the necessary information for the home page. In the Content Type Builder Tab, we can see a link to Create new single type.

As of now, we will add a Text field to the home page for storing a title.

Add Home Page Content
From the Content Manager tab, we can add the Home page content. Save the content and Publish it.

Allow Permissions for the Home Page API
Inside Settings -> Roles (Users & Permissions Plugin) -> Home-page allow permissions find. So that we can access the home page data.

We can now access the data inside the home page collection by entering the following URL in our browser’s address bar: http://localhost:1337/graphql.
To achieve the desired outcome, we can use the following query.
query {
homePage{
    data {
      id
      attributes {
       	title
      }
    }
  }
}
Create a Collection Type for Post
To store the posts, we need to create a collection type in Strapi.

To create a post, we need to include the following fields: title, slug, shortDescription, content, and image.

Add Post Content
From the Content Manager tab, we can add the post content. Save the content and Publish it.

Allow Permissions for the Post API
Inside Settings -> Roles (Users & Permissions Plugin) -> Post allow permissions find and findOne.

So that we can access the list of posts and a single post details by entering the following URL in your browser’s address bar: http://localhost:1337/graphql.
To achieve the desired outcome, we can use the following query.
query {
  posts{
    data {
      id
      attributes {
       	title
        content
        shortDescription
        image {
              data {
            attributes {
              url
            }
          }
        }
      }
    }
  }
}
So in the Strapi CMS, Home Page collection, Posts Collection, and the graphQL endpoints are done. Now let us create a Nex.js app for displaying these data.
Create a Next.js app
We can easily create a Next.js app using the NPX tool. Execute the following command.
npx create-next-app@latestWe are using TypeScript, ESLint rules, and App Router for this Next.js project. So select the options as per that. You can refer to the screenshot below.

The above command will create a new Next.js app with the name nextjs-strapi-blog. Now direct to the project directory and open it with Visual Studio Code.
cd nextjs-strapi-blog
code .
Create a GraphQL Query to Access Home Page Data
In /apiService/query.ts file, we can define the GraphQL query to access the home page data.
const homePageQuery = `
  query GetHomePage{
    homePage {
      data {
        id
        attributes {
            title
        }
      }
    }
  }
`;
export { homePageQuery };
Install graphql-request Package
Install a simple GraphQL client to construct a query using the GraphQL document as input.
npm i graphql-requestDefine an API Service to Fetch Home Page Data
Create a apiService/apiService.ts file and define the loadHomePage API service function inside.
loadHomePage is a function that fetches data from the GraphQL endpoint using the graphql-request library.
import { cache } from "react";
import { request } from "graphql-request";
import { homePageQuery } from "./query";
const graphqlUrl: any = process?.env?.NEXT_PUBLIC_GRAPHQL_URL;

const loadHomePage = cache(async () => {
  const query = homePageQuery;
  const variables = {};
  try {
    const response: any = await request(graphqlUrl, query, variables);
    return response?.homePage?.data?.attributes;
  } catch (error) {
    console.error("Error fetching data from Strapi:", error);
    return null;
  }
});
The variable NEXT_PUBLIC_GRAPHQL_URL should be added in .env.local file.
NEXT_PUBLIC_GRAPHQL_URL = http://localhost:1337/graphqlAdd the Types for Home Page Data
To define data types for the Home Page in TypeScript, you can create a file and define the data types within it.
export interface IHomePage {<br> title: string;<br>}Display the Home Page on the View
Let’s now display the data of the home page on the view.
import Image from "next/image";
import { loadHomePage } from "@/apiService/apiService";
import { IHomePage } from "@/models/models";
import Link from "next/link";

export default async function Home() {
  const homePageData: IHomePage = await loadHomePage();
  return (
    <div className="container mt-5">
      <div className="content">
        <h1>{homePageData?.title}</h1>
      </div>
    </div>
  );
}
So that we will get the home page view on http://localhost:3000.

Show Posts Data on the Home Page
We need to show the list of posts on the home page. The data from the post collections can be accessed via GraphQL query.
Create a postsQuery in the /apiService/query.ts file.
const postsQuery = `
  query GetPosts{
    posts {
      data {
        id
        attributes {
            title
            shortDescription
            content
            slug
            image {
                data {
                    attributes {
                      url
                    }
                }
            }
        }
      }
    }
  }
`;
Now create a function loadPosts inside the /apiService/apiService.ts file.
const loadPosts = cache(async () => {
  const query = postsQuery;
  const variables = {};
  try {
    const response: any = await request(graphqlUrl, query, variables);
    return response?.posts?.data;
  } catch (error) {
    console.error("Error fetching data from Strapi:", error);
    return null;
  }
});
The types should be defined in /models/models.ts file.
export interface IImage {
  data: {
    attributes: {
      url: string;
    };
  };
}
export interface IPost {
  attributes: {
    title: string;
    content: any;
    shortDescription: string;
    image: IImage;
    slug: string;
  };
}
Strapi only returns the path where the image is stored. the Strapi domain should be attached to it. So we are creating a function imageUrl inside /utils/generate-image-url.ts file.
const domainUrl = process?.env?.NEXT_PUBLIC_DOMAIN_URL;
const imageUrl = (url: string) => {
  if (url) {
    return `${domainUrl}${url}`;
  } else {
    return ``;
  }
};
export default imageUrl;
We must include the NEXT_PUBLIC_DOMAIN_URL in .env.local file.
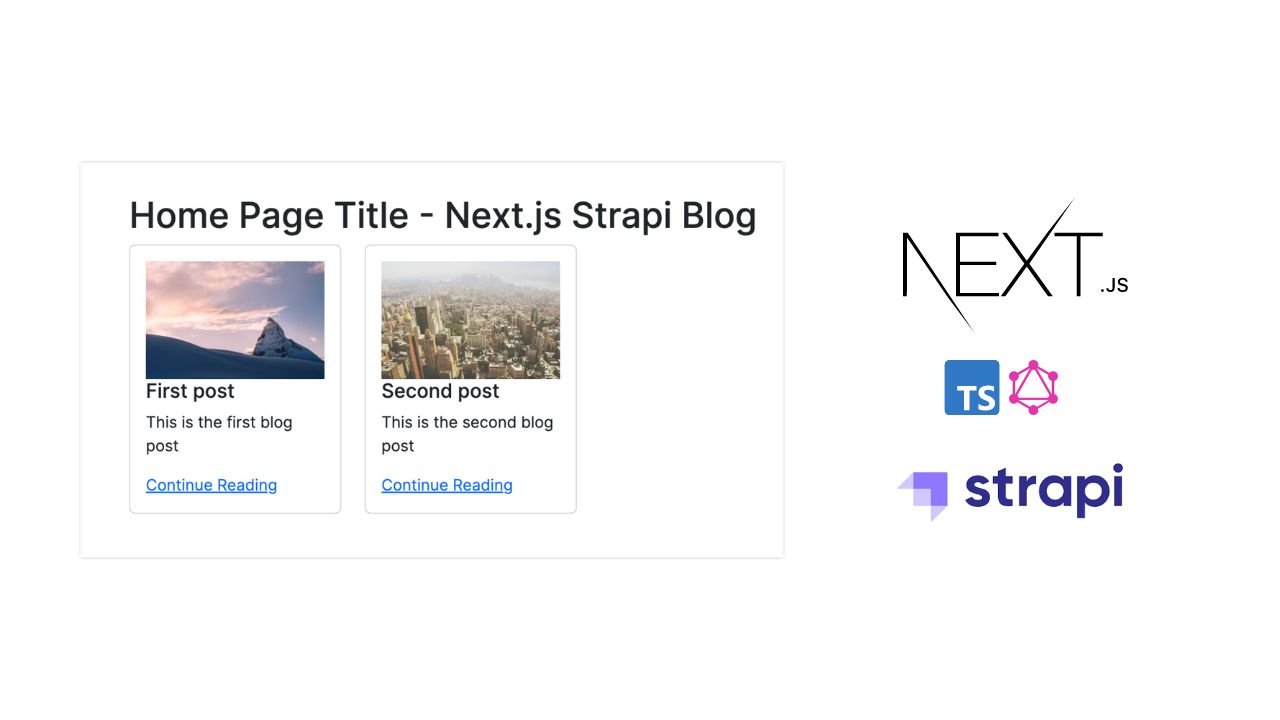
NEXT_PUBLIC_DOMAIN_URL = http://localhost:1337Call the loadPosts() function to get the list of posts on the home page. The complete code for the home page /app/page.tsx will look like the one below.
import Image from "next/image";
import { loadHomePage, loadPosts } from "@/apiService/apiService";
import { IHomePage, IPost } from "@/models/models";
import Link from "next/link";
import imageUrl from "@/utils/generate-image-url";

export default async function Home() {
  const homePageData: IHomePage = await loadHomePage();
  const postsData: IPost[] = await loadPosts();

  return (
    <div className="container mt-5">
      <div className="content">
        <h1>{homePageData?.title}</h1>
        <div className="row">
          {postsData?.map((post: IPost, index: number) => {
            return (
              <div className="col-4" key={"post" + index}>
                <div className="card">
                  <div className="card-body">
                    <Image
                      src={imageUrl(
                        post?.attributes?.image?.data?.attributes?.url
                      )}
                      alt={"post details"}
                      width={350}
                      height={250}
                      style={{
                        width: "100%",
                        height: "auto",
                      }}
                    />
                    <h5 className="card-title">{post?.attributes?.title}</h5>
                    <p className="card-text">
                      {post?.attributes?.shortDescription}
                    </p>
                    <Link
                      href={`/${post?.attributes?.slug}`}
                      className="card-link"
                    >
                      Continue Reading
                    </Link>
                  </div>
                </div>
              </div>
            );
          })}
        </div>
      </div>
    </div>
  );
}
Create the Post Details Page
Let us create two queries postDetailsQuery and postsPathQuery in /apiService/query.ts file. One for accessing the single post details and one for getting all post slugs. The post slugs are used to generate static pages for all posts.
const postDetailsQuery = `
query GetPostDetail($slug: String) {
  posts(filters: { slug: { eq: $slug }}) {
    data {
      id
      attributes {
        title
        shortDescription
        content
        image {
            data {
                attributes {
                    url
                }
            }
        }

     }
    }
  }
}
`;

const postsPathQuery = `
  query GetPostsPath{
    posts {
      data {
        id
        attributes {
            slug
        }
      }
    }
  }
`;

export { postDetailsQuery, postsPathQuery };
In the same manner, create two API services loadPostDetails and loadPostsPath in the /apiService/apiService.ts file.
const loadPostDetails = cache(async (slug: string) => {
  const query = postDetailsQuery;
  const variables = {
    slug,
  };
  try {
    const response: any = await request(graphqlUrl, query, variables);
    return response?.posts?.data[0];
  } catch (error: any) {
    console.error("Error fetching data from Strapi:", error);
    return null;
  }
});

const loadPostsPath = cache(async () => {
  const query = postsPathQuery;
  const variables = {};
  try {
    const response: any = await request(graphqlUrl, query, variables);
    return response?.posts?.data;
  } catch (error) {
    console.error("Error fetching data from Strapi:", error);
    return null;
  }
});
export { loadPostDetails, loadPostsPath };
Create a post details page /app/[slug]/page.tsx for rendering the single post. But before that, for rendering rich text from Strapi, we need to install a package @strapi/blocks-react-renderer in our Next.js app using the npm.
npm i @strapi/blocks-react-rendererThe BlocksRenderer component in this package will render the rich text from Strapi, which is our blog content. So the code inside /app/[slug]/page.tsx should be as below.
import Image from "next/image";
import { loadPostDetails, loadPostsPath } from "@/apiService/apiService";
import { IPost } from "@/models/models";
import { BlocksRenderer } from "@strapi/blocks-react-renderer";
import imageUrl from "@/utils/generate-image-url";

type Props = {
  params: { slug: string };
};

export default async function PostDetails({ params }: Props) {
  const postDetails: IPost = await loadPostDetails(params?.slug);

  return (
    <div className="container mt-5">
      <div className="content">
        <Image
          src={imageUrl(postDetails?.attributes?.image?.data?.attributes?.url)}
          alt={"post details"}
          width={600}
          height={400}
        />
        <h1>{postDetails?.attributes?.title}</h1>
        <BlocksRenderer content={postDetails?.attributes?.content} />
      </div>
    </div>
  );
}
In this file, we must also add a function generateStaticParams() for statically generating routes at build time.
export async function generateStaticParams() {
  const postsPath = await loadPostsPath();
  return postsPath?.map((post: any) => ({
    slug: post?.attributes?.slug,
  }));
}
We are adding a revalidation time of 60 seconds to statically rebuild the posts in each 60 seconds.
export const revalidate = 60;The complete code /app/[slug]/page.tsx will look like this,
import Image from "next/image";
import { loadPostDetails, loadPostsPath } from "@/apiService/apiService";
import { IPost } from "@/models/models";
import { BlocksRenderer } from "@strapi/blocks-react-renderer";
import imageUrl from "@/utils/generate-image-url";

type Props = {
  params: { slug: string };
};

export default async function PostDetails({ params }: Props) {
  const postDetails: IPost = await loadPostDetails(params?.slug);

  return (
    <div className="container mt-5">
      <div className="content">
        <Image
          src={imageUrl(postDetails?.attributes?.image?.data?.attributes?.url)}
          alt={"post details"}
          width={600}
          height={400}
        />
        <h1>{postDetails?.attributes?.title}</h1>
        <BlocksRenderer content={postDetails?.attributes?.content} />
      </div>
    </div>
  );
}

export async function generateStaticParams() {
  const postsPath = await loadPostsPath();
  return postsPath?.map((post: any) => ({
    slug: post?.attributes?.slug,
  }));
}
export const revalidate = 60;
GitHub
You can always refer to the GitHub repository to clone this project, refer to the code, and work on top of it.
// Strapi CMS
https://github.com/techomoro/strapi-blog-cms

// Next.js Frontend
https://github.com/techomoro/nextjs-strapi-blog
Summary
In this guide, we’ve outlined the process of building a powerful blog with Strapi and Next.js 14, leveraging GraphQL and TypeScript for enhanced functionality and code robustness. From setting up the environment to customizing the design, you’ll gain the skills to create your own dynamic and engaging blog.
Be the first to reply