
Push notification is one of the easiest ways to send offers, alerts, etc. directly to the user’s device or browser. We will discuss the steps to implement push notifications in a Next.js 12 app with Firebase Cloud Messaging (FCM).
Prerequisites
I believe that the reader already has a basic understanding of the following things:-
- To create apps with the Next.js framework.
- The basic working of push notification
- Setting up a Firebase account
- Working with the Postman tool
What we will learn
In this article, we will learn to:-
- Create a new Next.js app
- Signup for a Firebase account and set up Cloud Messaging.
- Integrate Firebase Cloud Messaging in our Next.js app
- Test the push notification using the Postman tool
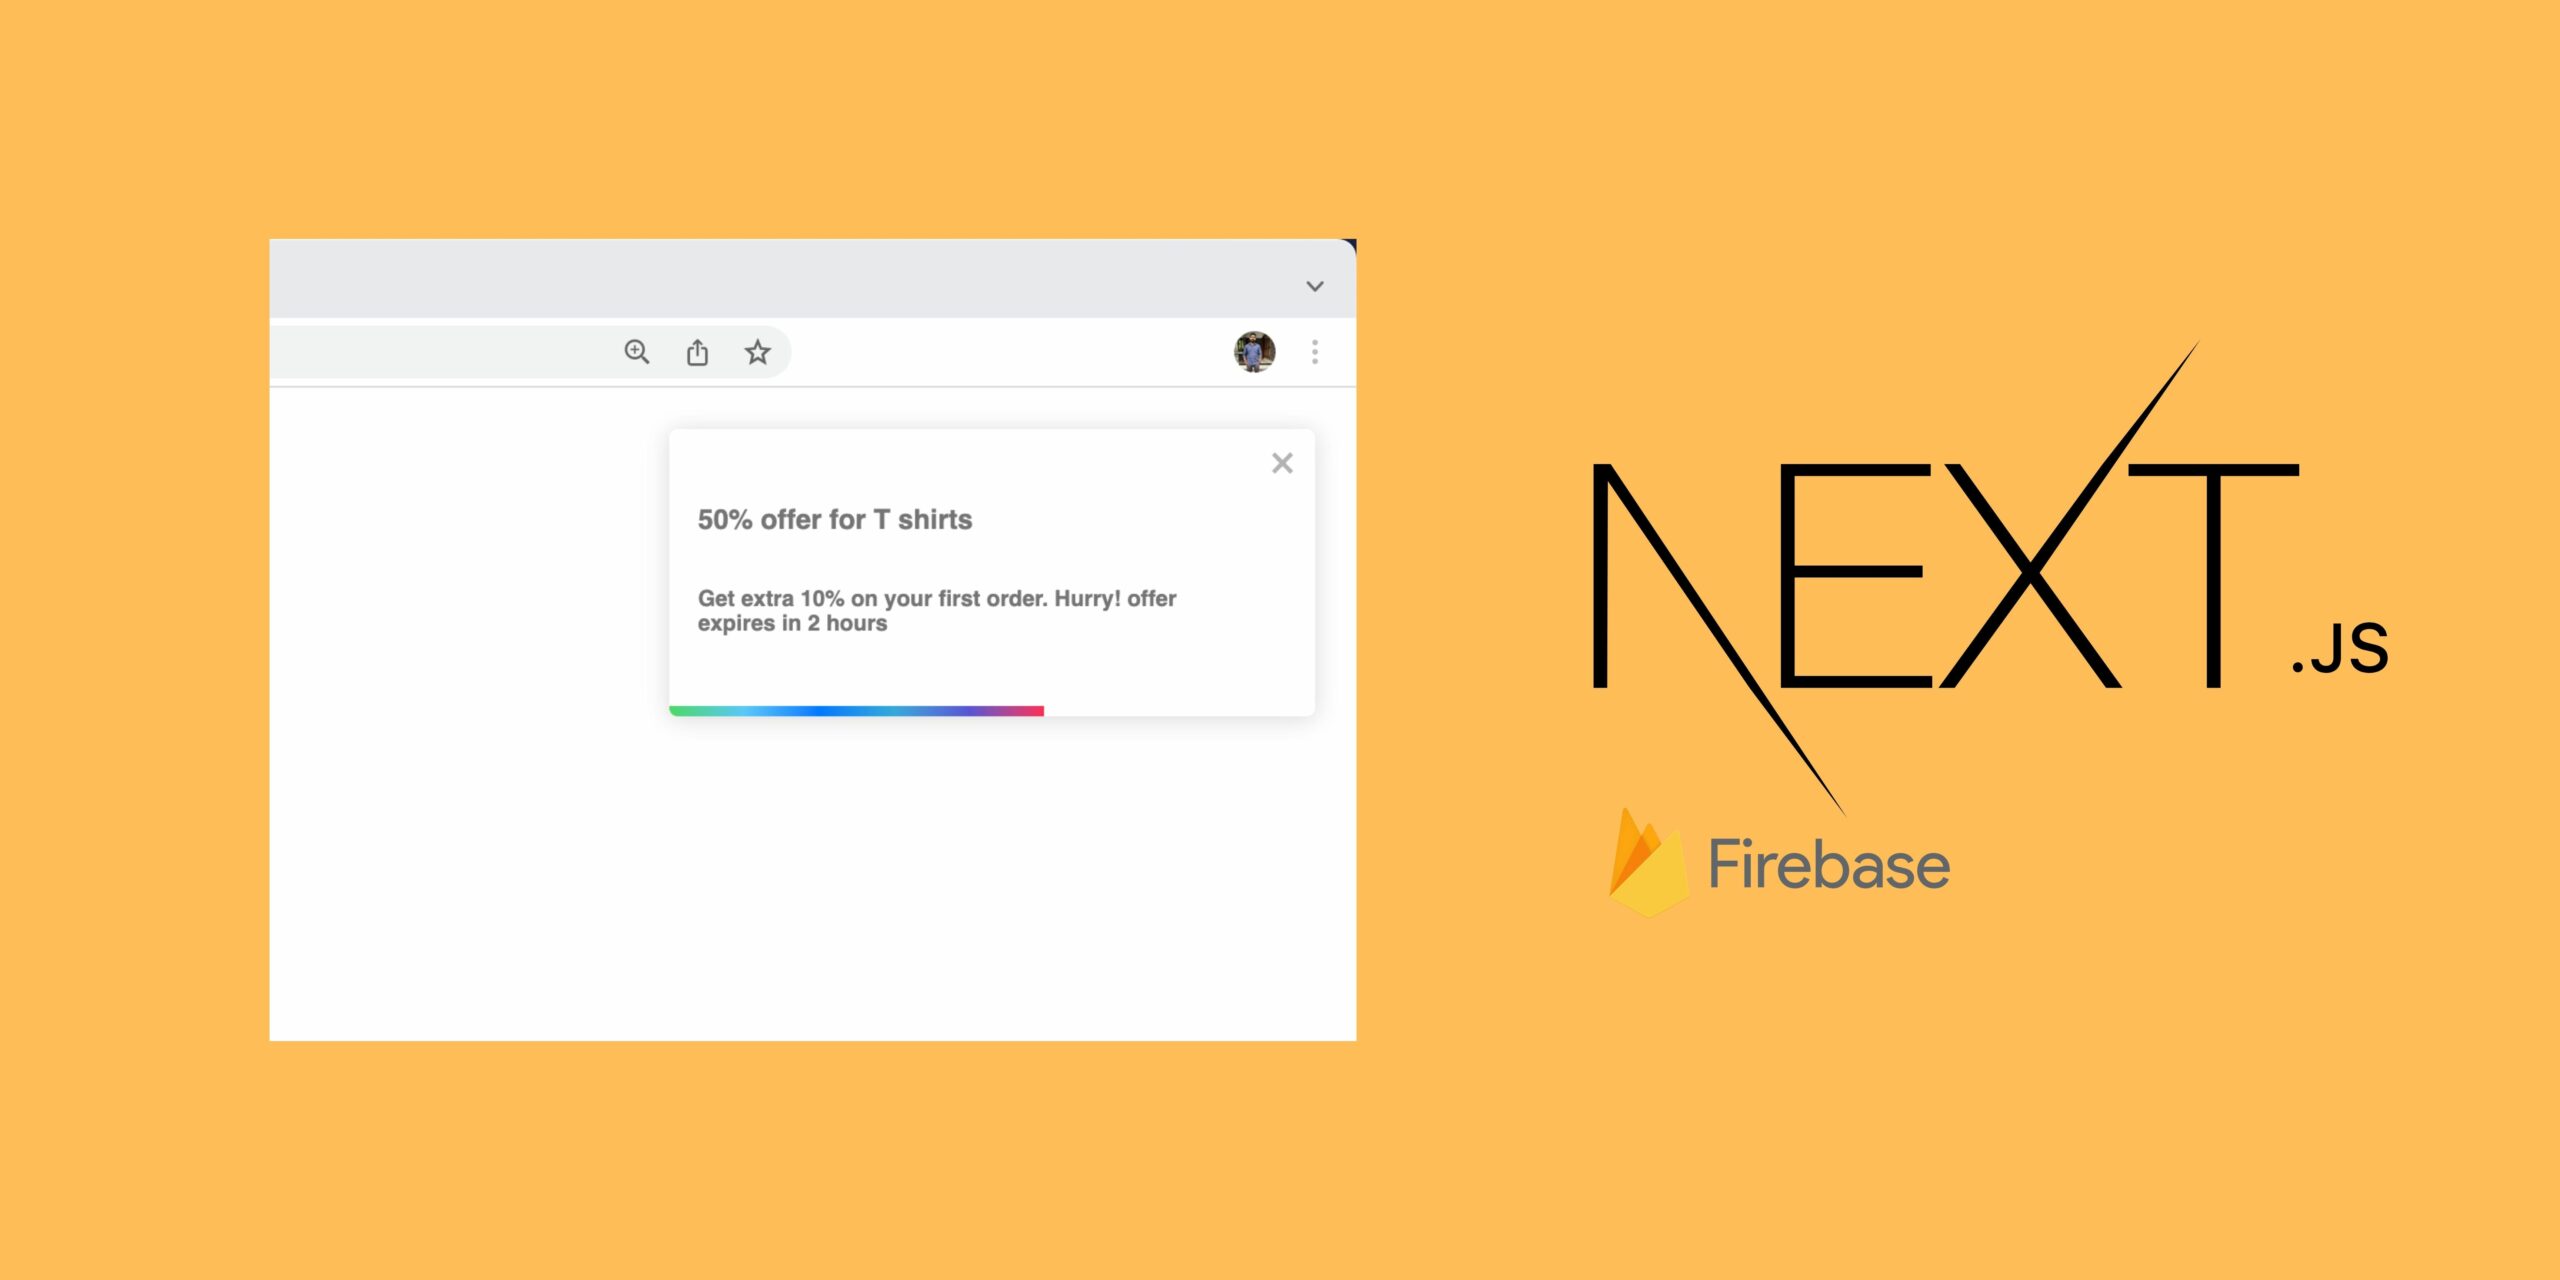
After completing the app, we will get a working demo as below.

So let us start with the steps.
Create a Next.js 12 app
We can easily create a Next.js app using the NPX tool.
npx create-next-app@12 nextjs-fcm-demo
The above command will create a new Next.js app with the name nextjs-fcm-demo. Now enter the project directory and open it with Visual Studio Code.
cd nextjs-fcm-demo
code .
Signup for a Firebase account and set up Cloud Messaging
We need a Firebase account to deal with the Firebase Cloud Messaging. We can easily log in to the firebase console using our Google account.
The URL below will direct us to the firebase console page.
https://console.firebase.google.com/
Create a new project
After creating or logging in to the Firebase account, let’s create a new project.

Name the project
Enter a project name in the first step of creating the project.

Adding Google Analytics to our project (Optional)
This is an optional step. We can enable Google Analytics for our project if needed.

If we want to add Google Analytics, we also need to select the country and accept the terms and conditions of Google. Now press the Create project button.

Adding Firebase to our web app
Here we are going to implement Firebase push notification in a Next.js app. As it is a web app, we want to select the third option from the list. We can also add the Firebase to iOS and Android apps as well.

Add a nickname to register our app. Note that, we don’t need Firebase hosting in this case. Because we are only looking at the Firebase Cloud Messaging (FCM) feature.

Adding Firebase SDK to our app
Now we get a command to install the Firebase on our Next.js app and initialize the Firebase SDK. We will do this later because we did not create our Next.js app yet.
Now just copy the credentials somewhere and click the Continue to console button.

Generate Web push certificate key pair
Enter the Project settings and generate a web push certificate key pair. We will use this key pair on our app later.

Click on the Cloud Messaging tab and press the Generate key pair button to generate the web push certificate.

This will create a new Key pair for web configuration.

We will use this Key pair later. Before that, let’s create and set up our Next.js app.
Create a Next.js app
After successfully installing Node.js on our system, we can easily create a new Next.js project using the below command.
npx create-next-app nextjs-fcm-demo
This will create a new project named nextjs-fcm-demo.

We can enter the directory and open the project with Visual Studio Code or any other code editor.
Note: We must install VS code on our system before executing the code. command below.
cd nextjs-fcm-demo
code .
This will open our Next.js project in VS code as shown below.

Install the Firebase
To use Firebase services easily on Node-based projects, we can use the Firebase package. In our case, we are using version 7.6.2 of the firebase package. Use the below command to install the package for our Next.js app.
npm i [email protected]
Install the Localforage package
The localForage package improves the offline experience of our web app by using asynchronous storage (IndexedDB or WebSQL) with a simple, localStorage-like API.
In our Next.js app, we need to store the token provided by Firebase locally. So this package will help us.
Install the package using the below command.
npm i localforage
Define a function to initialize the Firebase
Now we are defining a function under the utils/firebase.js file to initialize the Firebase on our project, Get a token from the Firebase and store it in our local storage. We will use this token to send the push notification from Postman later.
import "firebase/messaging";
import firebase from "firebase/app";
import localforage from "localforage";

const firebaseCloudMessaging = {
  init: async () => {
    if (!firebase?.apps?.length) {

      // Initialize the Firebase app with the credentials
      firebase?.initializeApp({
        apiKey: "your_api_key",
        authDomain: "your_auth_domain",
        projectId: "your_project_id",
        storageBucket: "your_storage_bucket",
        messagingSenderId: "your_messagin_sender_id",
        appId: "your_app_id",
      });

      try {
        const messaging = firebase.messaging();
        const tokenInLocalForage = await localforage.getItem("fcm_token");

         // Return the token if it is alredy in our local storage
        if (tokenInLocalForage !== null) {
          return tokenInLocalForage;
        }

        // Request the push notification permission from browser
        const status = await Notification.requestPermission();
        if (status && status === "granted") {
        // Get new token from Firebase
          const fcm_token = await messaging.getToken({
            vapidKey: "your_web_push_certificate_key_pair",
          });

          // Set token in our local storage
          if (fcm_token) {
            localforage.setItem("fcm_token", fcm_token);
            return fcm_token;
          }
        }
      } catch (error) {
        console.error(error);
        return null;
      }
    }
  },
};
export { firebaseCloudMessaging };
In the above code, the firebase?.initializeApp will initialize Firebase with the credentials we have.
Now we will use the messaging.getToken() function to get the token from Firebase. We need to pass the web_push_certificate_key_pair that we have already generated for this.
Setup a service worker to connect between the Firebase server and our Next.js app
Service workers can act as middleware or simply a bridge between our Next.js app and the Firebase server.
When we post a Push notification from Postman, it will reach the service worker we are going to create and inform our Next.js app to perform functions.
I am not going to explain this in detail. You can learn more about the service worker and its implementation in Next.js if interested.
Let us simply set up a service worker /public/firebase-messaging-sw.js in Next.js our app.
importScripts("https://www.gstatic.com/firebasejs/7.9.1/firebase-app.js");
importScripts("https://www.gstatic.com/firebasejs/7.9.1/firebase-messaging.js");

firebase.initializeApp({
  apiKey: "your_api_key",
  authDomain: "your_auth_domain",
  projectId: "your_project_id",
  storageBucket: "your_storage_bucket",
  messagingSenderId: "your_messagin_sender_id",
  appId: "your_app_id",
});

const messaging = firebase.messaging();
Install React-toastify package
We will display the push notification message inside a toast. So install the react-toastify package first using the NPM tool.
npm i react-toastify
We also need to import the react-toastify/dist/ReactToastify.css complete the setup.
So the complete _app.js file will look the same as below.
import "../styles/globals.css";
import "react-toastify/dist/ReactToastify.css";

function MyApp({ Component, pageProps }) {
  return <Component {...pageProps} />;
}
export default MyApp;
Create a PushNotificationLayout to show the push notification message
Here in Next.js, we have the option to create Layouts and use them on the pages we need. In our app, we need to get push notifications from all pages.
So we are creating a PushNotificationLayout that accesses the Push notification from the service worker and show the message inside the toast.
Now create the Layout component components/PushNotificationLayout.js in our app.
import React, { useEffect } from "react";
import * as firebase from "firebase/app";
import "firebase/messaging";
import { firebaseCloudMessaging } from "../utils/firebase";
import { ToastContainer, toast } from "react-toastify";
import { useRouter } from "next/router";

function PushNotificationLayout({ children }) {
  const router = useRouter();
  useEffect(() => {
    setToken();

    // Event listener that listens for the push notification event in the background
    if ("serviceWorker" in navigator) {
      navigator.serviceWorker.addEventListener("message", (event) => {
        console.log("event for the service worker", event);
      });
    }

    // Calls the getMessage() function if the token is there
    async function setToken() {
      try {
        const token = await firebaseCloudMessaging.init();
        if (token) {
          console.log("token", token);
          getMessage();
        }
      } catch (error) {
        console.log(error);
      }
    }
  });

  // Handles the click function on the toast showing push notification
  const handleClickPushNotification = (url) => {
    router.push(url);
  };

  // Get the push notification message and triggers a toast to display it
  function getMessage() {
    const messaging = firebase.messaging();
    messaging.onMessage((message) => {
      toast(
        <div onClick={() => handleClickPushNotification(message?.data?.url)}>
          <h5>{message?.notification?.title}</h5>
          <h6>{message?.notification?.body}</h6>
        </div>,
        {
          closeOnClick: false,
        }
      );
    });
  }

  return (
    <>
      <ToastContainer />
      {children}
    </>
  );
}

export default PushNotificationLayout;
Here, inside a useEffect, we call a function setToken() where we are getting the token from the Firebase. We can see it in console.log(token).
Here we are copying the token from the console and using it inside Postman to post a push notification.
Note:- But in real use cases, we will store this token in our database. We use the tokens stored in the background to send push notifications.
The handleClickPushNotification() function will direct us to the URL that we are going to pass from the Postman. We will discuss this later.
Create a Home page and an Offers page
We are creating two pages, Home and Offers. By default, it shows the home page, and clicking our push notification will direct us to the offers page.
The code for the home page is as below.
import PushNotificationLayout from "../components/PushNotificationLayout";
import styles from "../styles/Home.module.css";

export default function Home() {
  return (
    <PushNotificationLayout>
      <div className={styles.container}>
        <main className={styles.main}>
          <h2>Home Page</h2>
        </main>
      </div>
    </PushNotificationLayout>
  );
}
The offers page code will be the same as below. We are directing to the /offers page when clicking the push notification toast. This will render the offers page.
import PushNotificationLayout from "../components/PushNotificationLayout";
import styles from "../styles/Home.module.css";

export default function Offers() {
  return (
    <PushNotificationLayout>
      <div className={styles.container}>
        <main className={styles.main}>
          <h2>Offers Page</h2>
          <p>50% discount on T shirts</p>
        </main>
      </div>
    </PushNotificationLayout>
  );
}
We need to note that we are wrapped both pages with the PushNotificationLayout component. So that we will get the push notification from both pages.
Testing the push notification with the Postman tool
So we have set up our Next.js app and now we can test the Firebase push notification using the Postman tool.
We need to send a POST request to the below URL.
https://fcm.googleapis.com/fcm/send
It should contain the header values Authorization and Content-Type as below. Open the console of our browser and we can see the token from the Firebase. We need to pass this token with the Authorization key.

key: Authorization
value: key=token_copied_from_the_browser

key: Content-Type
value: application/json
We also need to pass the values to, notification, data, and priority as row body.
Here we are using the data value to pass the URL to be redirected on clicking the push notification toast.
{
    "to":"fdtmL82nVeDgIxqOpkVksh:APA91bFYeeCdJ1234567GcN37fwMn8nNGJA0D0gz4-HZbRU3QE5Nv1txZPyJb_Dzq_UpUsxKk4Ub_nHrhFJE-Ca2Lk19ZP2TqTO6XrvyDD8NIZIQpk1UCwqpJhkC0bKW-CPb5NVC6EX26IQ",
    "priority": "high",
    "notification": {
        "title": "50% offer for T shirts",
        "body" : "Get extra 10% on your first order. Hurry! offer expires in 2 hours"
    },
    "data": {
        "url": "/offers"
    }
}
The Postman window will look the same as below.

Codesandbox
Refer to the CodeSandbox link to view the live app. You can clone this project to your CodeSandbox account and edit the code.
https://codesandbox.io/s/awesome-davinci-3q9tm9
GitHub
You can always refer to the GitHub repository to clone this project, refer to the code and work on top of it.
https://github.com/techomoro/nextjs-fcm-demo
Summary
So in this article, we learned to implement the push notification feature in a Next.js app with Firebase Cloud Messaging (FCM). We did create a Next.js app, signup for a Firebase account and set up Cloud Messaging, integrated Firebase Cloud Messaging in our Next.js app, and tested the push notification using the Postman tool.


I have tried using the same code it looks like the onMessage(toast) is not working in this build can you please check it and help me on this topic
hii im i clone your poject from github .but im not getting message on function onMessage .please help
In your Postman example – you are using the token from the browser as both the authorization key= and the “to” value in the request body. This is never going to work.
The authorization key should be the server key from the cloudmessaging section of console
https://console.firebase.google.com/project/{{YOUR_PROJEXT_NAME}}/settings/cloudmessaging/android:com.pushnotification