
In most cases of web development, we have to implement forms. At the same time as implementing a form on a website, we have to be aware that bots can send fraud and abused content. Captchas are one of the best options to prevent this. Here in this article, we will discuss the steps to implement Google reCAPTCHA v3 in a Next.js 12 form.
Prerequisites
I believe that the reader already has a basic understanding of the following things:-
- To create apps with the Next.js framework.
- Working with Next.js as a full-stack framework
- The use of captcha
What we will learn
In this article, we will learn to:-
- Captcha and its usage
- Google reCAPTCHA and its versions
- How Google reCAPTCHA v3 works
- Registering a new app in Google reCAPTCHA
- Integrate Google reCAPTCHA v3 in a Next.js form
- Test the working of reCAPTCHA
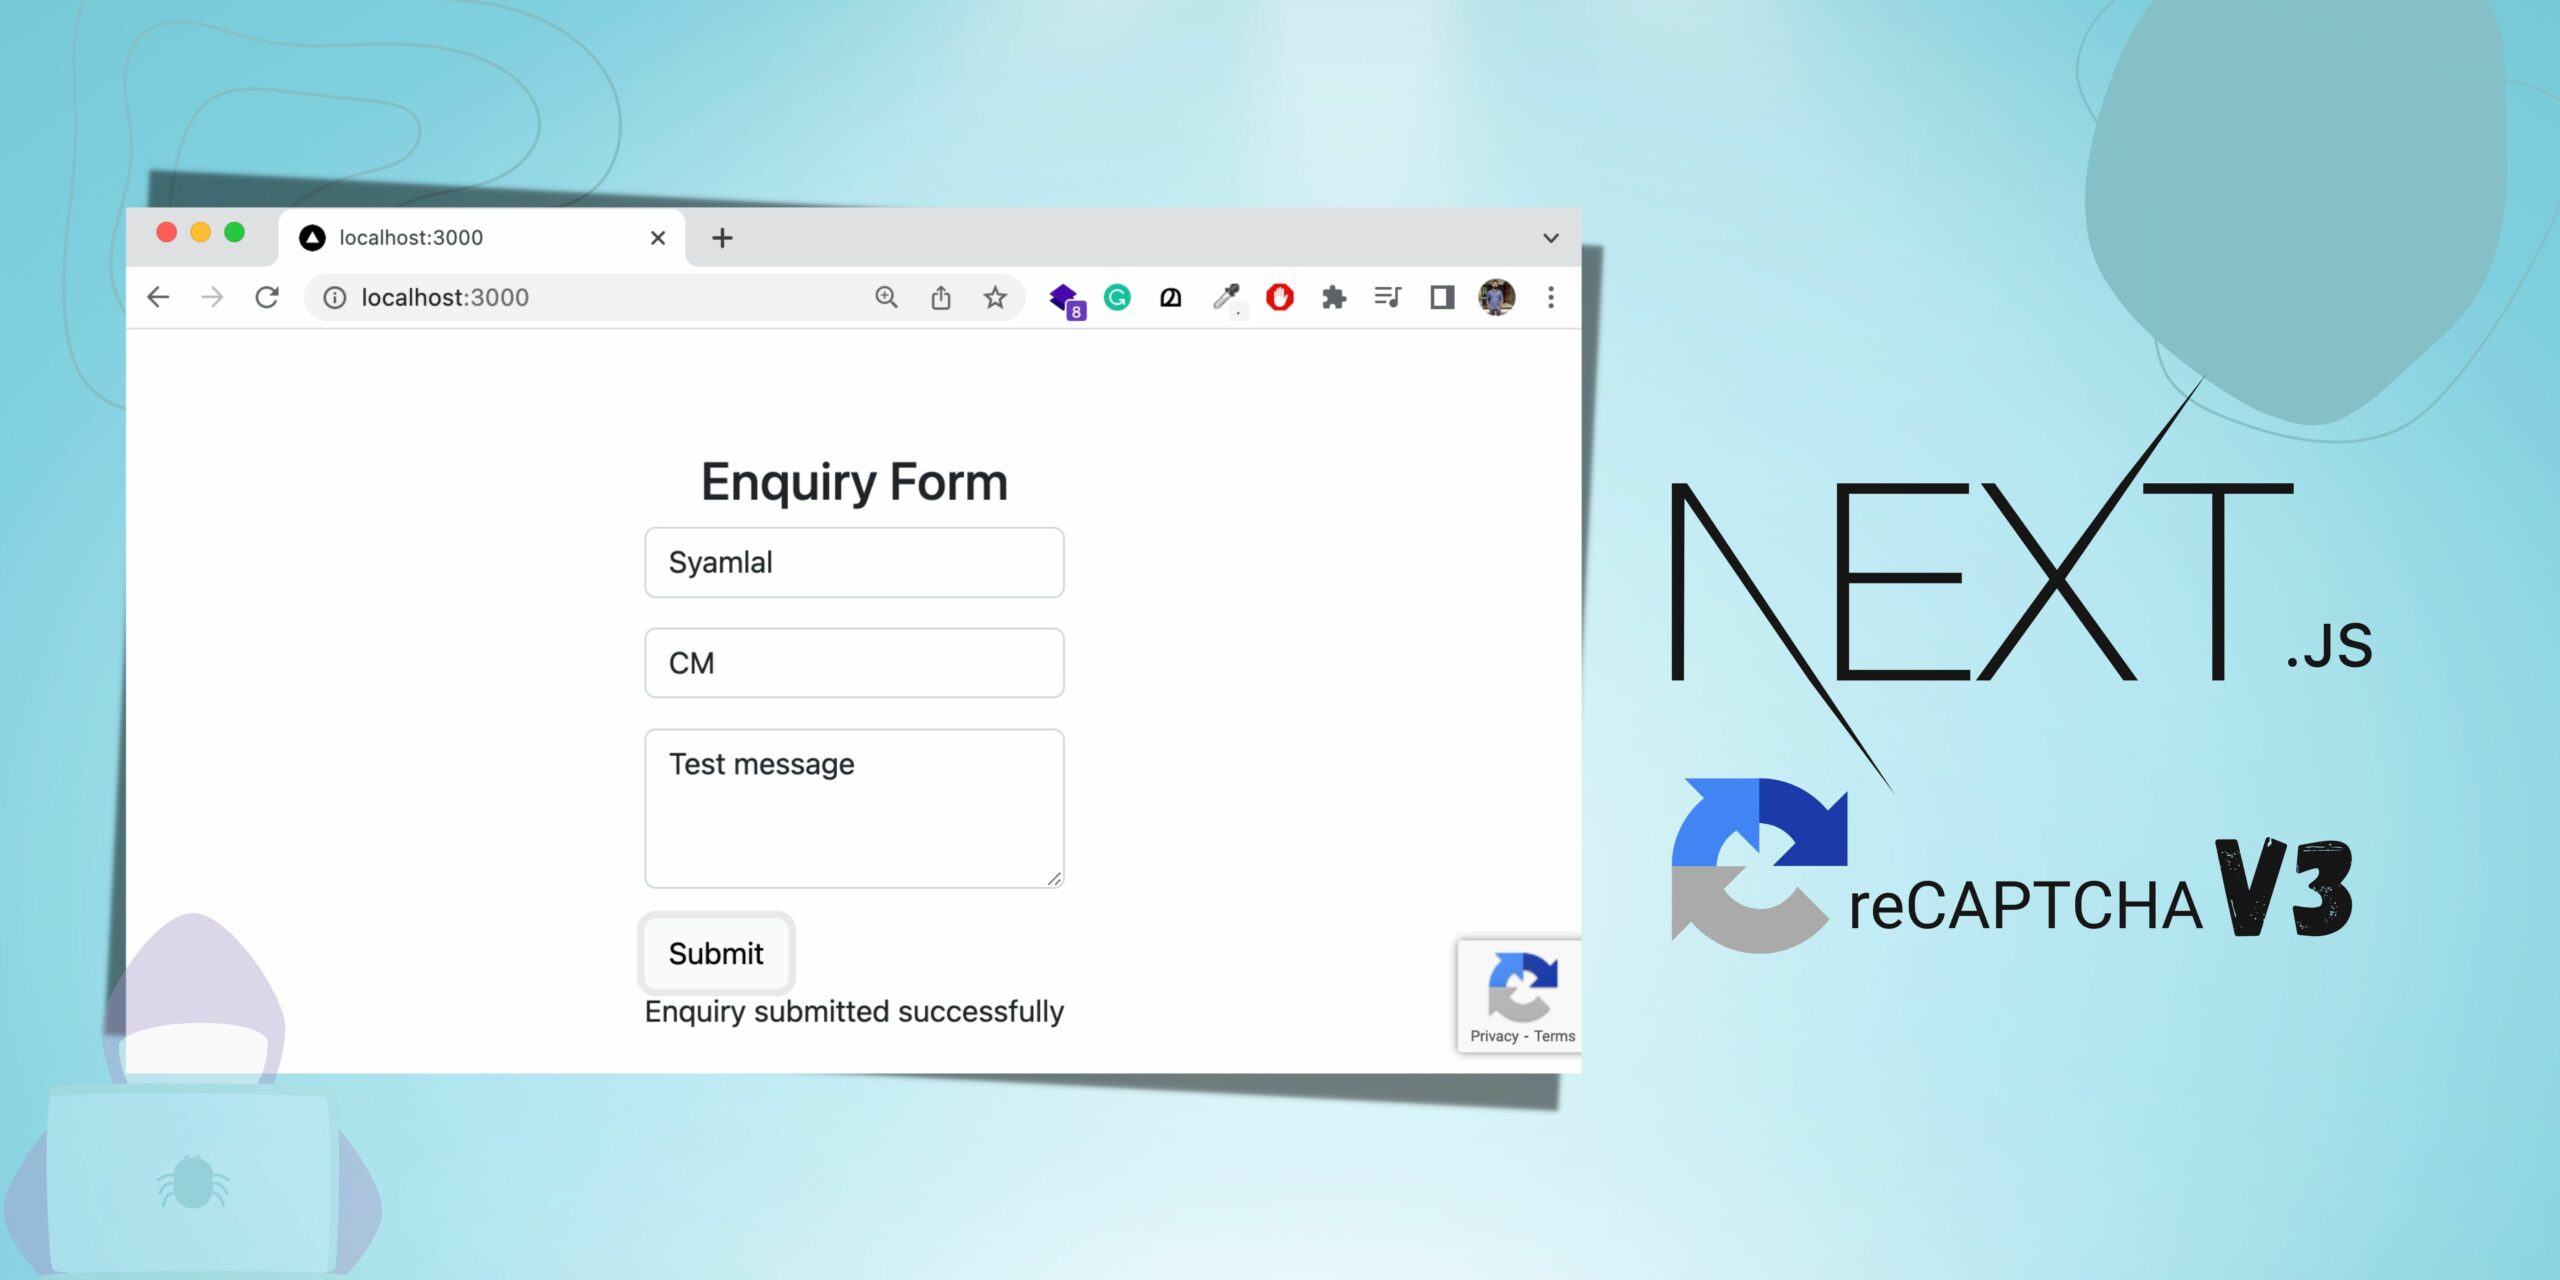
After completing the article, we will create a Next.js app with the workflow shown below.

Captcha and its usage
CAPTCHA (Completely Automated Public Turing test to tell Computers and Humans Apart) is a challenge-response authentication system to verify whether the user is a human.
You might be already familiar with the working of a captcha. On some websites, when submitting a form, some challenges will be displayed on the screen to verify that you are not a bot. I have given a screenshot below.

In this system, the user needs to complete a challenge to submit a form. This will reduce the interference of bots from our website.
Google reCAPTCHA and its versions
Google reCAPTCHA is one of the popular captcha used nowadays to protect our website from bots. There are three versions v2, v3, and Enterprise available in Google reCAPTCHA where the workflow is different in each version.
Google reCAPTCHA V2: Here the user is verified with the “I am not a robot” checkbox and invisible reCAPTCHA badge challenges.

The Google reCAPTCHA V3: A frictionless system that verifies requests with a score and gives us the ability to take action in the context of our site.

Google reCAPTCHA Enterprise: This method can be implemented for a full website or mobile app other than implementing a captcha on selected pages.

In this article, we are implementing Google reCAPTCHA v3 on our Next.js app form.
Workflow of Google reCAPTCHA v3
The workflow of Google reCAPTCHA v3 is divided between the front end and the backend of an app.

Frontend part:-
Google reCAPTCHA v3 continually analyses the user actions on a page where it is implemented.
When submitting a form from the page, Google reCAPTCHA v3 generates a token and sends it with the form values.
Backend Part:-
Before storing the form data, we will send a request to the Google reCAPTCHA v3 server from the backend side.
This will return a score between 0.0 – 1.0 and determine the request from the frontend is generated by a human or a bot. 0.0 is more likely a bot and 1.0 is more likely a human. In this tutorial, we are taking .5 as a threshold to determine whether it’s a bot or a human.
So, if the score is greater than .5, we will store the data in the database and returns a success message. Otherwise, we will return an error message.
Registering a new app in Google reCAPTCHA
W can easily log in to the Google reCAPTCHA console with a Google account.
The URL below will direct us to the Google reCAPTCHA console page.
https://www.google.com/recaptcha/admin/create
Type a label name, select reCAPTCHA V3, add localhost in the domains field and register our site. If you are planning to deploy the app on a domain, the domain name should be added here.

After submitting, we will get a page showing some credentials, SITE KEY, and the SECRET KEY. Store this somewhere and we will use this later.

Create a Next.js 12 app
We can easily create a Next.js app using the NPX tool.
npx create-next-app@12 nextjs-google-recaptcha-v3-demo
The above command will create a new Next.js app with the name nextjs-google-recaptcha-v3-demo. Now enter the project directory and open it with Visual Studio Code.
cd nextjs-google-recaptcha-v3-demo
code .
Install the react-google-recaptcha-v3 package
To make our development part easier, let us use the package react-google-recaptcha-v3 in our Next.js app.
The below command will install this package in our app.
npm i react-google-recaptcha-v3
Wrap the entire Next.js app with GoogleReCaptchaProvider
We need to wrap our entire Next.js app withGoogleReCaptchaProvider to use Google reCAPTCHA v3 on each page.
From pages/_app.js, Wrapping the <Component {...pageProps} /> will affect our entire app.
import "../styles/globals.css";
import { GoogleReCaptchaProvider } from "react-google-recaptcha-v3";
import "bootstrap/dist/css/bootstrap.min.css";

function MyApp({ Component, pageProps }) {
  return (
    <GoogleReCaptchaProvider
      reCaptchaKey="your_site-key"
      scriptProps={{
        async: false,
        defer: false,
        appendTo: "head",
        nonce: undefined,
      }}
    >
      <Component {...pageProps} />
    </GoogleReCaptchaProvider>
  );
}

export default MyApp;
You have to replace them your_site_key with the key SITE KEY we got from the reCAPTCHA website before.
I also installed and imported the bootstrap CSS file to load some inbuilt styles.
So install Bootstrap on our app with the below command.
npm i [email protected]
Create a form on the home page
We need a form to submit the details to the backend. So design a form in the home page as below. We will code the handleSumitForm() function later. So inside the pages/index.js file, code a form.
import { useCallback, useState } from "react";
import styles from "../styles/Home.module.css";

export default function Home() {
  const [name, setName] = useState("");
  const [email, setEmail] = useState("");
  const [message, setMessage] = useState("");
  const [notification, setNotification] = useState("");

  return (
    <div className={styles.container}>
      <main className={styles.main}>
        <h2>Enquiry Form</h2>
        <form onSubmit={handleSumitForm}>
          <input
            type="text"
            name="name"
            value={name}
            onChange={(e) => setName(e?.target?.value)}
            className="form-control mb-3"
            placeholder="Name"
          />
          <input
            type="text"
            name="email"
            value={email}
            onChange={(e) => setEmail(e?.target?.value)}
            className="form-control mb-3"
            placeholder="Email"
          />
          <textarea
            rows={3}
            type="text"
            name="message"
            value={message}
            onChange={(e) => setMessage(e?.target?.value)}
            className="form-control mb-3"
            placeholder="Message"
          />
          <button type="submit" className="btn btn-light">
            Submit
          </button>

          {notification && <p>{notification}</p>}
        </form>
      </main>
    </div>
  );
}
Get the token from the reCAPTCHA server
Import the useGoogleReCaptcha hook from the react-google-recaptcha-v3 first.
import { useGoogleReCaptcha } from "react-google-recaptcha-v3";Inside the Home page function, declare the executeRecaptcha function from the useGoogleReCaptcha hook.
const { executeRecaptcha } = useGoogleReCaptcha();Now, using the executeRecaptcha function get the token from the reCAPTCHA server. This should be done inside the handleSumitForm() function.
const handleSumitForm = useCallback(
  (e) => {
    e.preventDefault();
    if (!executeRecaptcha) {
      console.log("Execute recaptcha not yet available");
      return;
    }
    executeRecaptcha("enquiryFormSubmit").then((gReCaptchaToken) => {
      console.log(gReCaptchaToken, "response Google reCaptcha server");
      submitEnquiryForm(gReCaptchaToken);
    });
  },
  [executeRecaptcha]
);
Note:- The useCallback will return a memoized version of the callback that only changes if one of the dependencies has changed.
console.log(gReCaptchaToken, "response Google reCaptcha server");The code line above will print the token returned from the reCAPTCHA server.
Submit the form to the backend
So we have got the token and use this token to call the submitEnquiryForm() function. Here we will interact with the backend API.
Note that the API URLs are not set up yet. But we will code it in the upcoming steps.
To define a function to submit our form data and Google reCAPTCHA token to the backend.
const submitEnquiryForm = (gReCaptchaToken) => {
  fetch("/api/enquiry", {
    method: "POST",
    headers: {
      Accept: "application/json, text/plain, */*",
      "Content-Type": "application/json",
    },
    body: JSON.stringify({
      name: name,
      email: email,
      message: message,
      gRecaptchaToken: gReCaptchaToken,
    }),
  })
    .then((res) => res.json())
    .then((res) => {
      console.log(res, "response from backend");
      if (res?.status === "success") {
        setNotification(res?.message);
      } else {
        setNotification(res?.message);
      }
    });
};
So that the complete code inside the pages/index.js will look the same as below.
import { useCallback, useState } from "react";
import styles from "../styles/Home.module.css";
import { useGoogleReCaptcha } from "react-google-recaptcha-v3";

export default function Home() {
  const [name, setName] = useState("");
  const [email, setEmail] = useState("");
  const [message, setMessage] = useState("");
  const [notification, setNotification] = useState("");

  const { executeRecaptcha } = useGoogleReCaptcha();

const handleSumitForm = useCallback(
  (e) => {
    e.preventDefault();
    if (!executeRecaptcha) {
      console.log("Execute recaptcha not yet available");
      return;
    }
    executeRecaptcha("enquiryFormSubmit").then((gReCaptchaToken) => {
      console.log(gReCaptchaToken, "response Google reCaptcha server");
      submitEnquiryForm(gReCaptchaToken);
    });
  },
  [executeRecaptcha]
);

const submitEnquiryForm = (gReCaptchaToken) => {
  fetch("/api/enquiry", {
    method: "POST",
    headers: {
      Accept: "application/json, text/plain, */*",
      "Content-Type": "application/json",
    },
    body: JSON.stringify({
      name: name,
      email: email,
      message: message,
      gRecaptchaToken: gReCaptchaToken,
    }),
  })
    .then((res) => res.json())
    .then((res) => {
      console.log(res, "response from backend");
      if (res?.status === "success") {
        setNotification(res?.message);
      } else {
        setNotification(res?.message);
      }
    });
};

  return (
    <div className={styles.container}>
      <main className={styles.main}>
        <h2>Enquiry Form</h2>
        <form onSubmit={handleSumitForm}>
          <input
            type="text"
            name="name"
            value={name}
            onChange={(e) => setName(e?.target?.value)}
            className="form-control mb-3"
            placeholder="Name"
          />
          <input
            type="text"
            name="email"
            value={email}
            onChange={(e) => setEmail(e?.target?.value)}
            className="form-control mb-3"
            placeholder="Email"
          />
          <textarea
            rows={3}
            type="text"
            name="message"
            value={message}
            onChange={(e) => setMessage(e?.target?.value)}
            className="form-control mb-3"
            placeholder="Message"
          />
          <button type="submit" className="btn btn-light">
            Submit
          </button>

          {notification && <p>{notification}</p>}
        </form>
      </main>
    </div>
  );
}
Code an API to handle the form submission request
From the front end, we are giving a POST request to the API /api/enquiry. We need to code the function to be worked from the backend part now.
We know that Next.js is a full-stack framework. So APIs can be set up inside the same Next.js app we have created.
Let us create a file enquiry.js inside the pages/api directory in our app to manage the inquiry post request from the frontend.
I am not explaining the API creation steps here in detail.
The important step we need to understand is that we are creating a post request to the API URL https://www.google.com/recaptcha/api/siteverify from our backend.
We have to include the pre-stored SECRET KEY and the Google reCAPTCHA token we sent with the form submission request.
body: `secret=your_secret_key&response=${req.body.gRecaptchaToken}`,The fetch request is coded below. if (reCaptchaRes?.score > 0.5), we can store the form data in the DB and return a success message. Otherwise, return with an error message.
Note:- Here in this article, I am not storing the data in a database. If you are interested to learn it, the article How To Connect MongoDB Atlas With A Next.Js App will help you.
fetch("https://www.google.com/recaptcha/api/siteverify", {
  method: "POST",
  headers: {
    "Content-Type": "application/x-www-form-urlencoded",
  },
  body: `secret=your_secret_key&response=${req.body.gRecaptchaToken}`,
})
  .then((reCaptchaRes) => reCaptchaRes.json())
  .then((reCaptchaRes) => {
    console.log(
      reCaptchaRes,
      "Response from Google reCaptcha verification API"
    );
    if (reCaptchaRes?.score > 0.5) {
      // Save data to the database from here
      res.status(200).json({
        status: "success",
        message: "Enquiry submitted successfully",
      });
    } else {
      res.status(200).json({
        status: "failure",
        message: "Google ReCaptcha Failure",
      });
    }
  });
The complete pages/api/enquiry.js will look the same as below.
const handler = (req, res) => {
  if (req.method === "POST") {
    try {
      fetch("https://www.google.com/recaptcha/api/siteverify", {
        method: "POST",
        headers: {
          "Content-Type": "application/x-www-form-urlencoded",
        },
        body: `secret=your_secret_key&response=${req.body.gRecaptchaToken}`,
      })
        .then((reCaptchaRes) => reCaptchaRes.json())
        .then((reCaptchaRes) => {
          console.log(
            reCaptchaRes,
            "Response from Google reCaptcha verification API"
          );
          if (reCaptchaRes?.score > 0.5) {
            // Save data to the database from here
            res.status(200).json({
              status: "success",
              message: "Enquiry submitted successfully",
            });
          } else {
            res.status(200).json({
              status: "failure",
              message: "Google ReCaptcha Failure",
            });
          }
        });
    } catch (err) {
      res.status(405).json({
        status: "failure",
        message: "Error submitting the enquiry form",
      });
    }
  } else {
    res.status(405);
    res.end();
  }
};

export default handler;
Test the working of reCAPTCHA
So we have integrated Google reCAPTCHA in our Next.js app. Now, let’s test the working.
Submit a form from the frontend part. We can see the token in the console that we are getting from the reCAPTCHA server.

At the same time, inside the VS code terminal, we can see the score returned from the Google reCAPTCHA server. This process is done from the backend part.

Here, in this case, the score is 0.9 which is greater than 0.5 and it means the form is submitted by a human.
Codesandbox
Refer to the CodeSandbox link to view the live app. You can clone this project to your CodeSandbox account and edit the code also.
https://codesandbox.io/s/wonderful-neumann-0jo4q7
GitHub
You can always refer to the GitHub repository to clone this project, refer to the code and work on top of it.
https://github.com/techomoro/nextjs-google-recaptcha-v3-demo
Summary
In this article, we have learned to implement the Goole reCAPTCHA Version 3 or simply Google reCAPTCHA v3 in a Next.js app form.


What benefits does have v3 vs enterprise?
Some issues here.
Sometimes useCallback will cause a complete re-render before the form can be submitted; causing a race condition at times.
We found that removing the useCallback hook and placing the the token generation function inside a regular function that gets call at submission fixed our issue.
Can we do the captcha validation at frontend side?
Please reply. Thanku