
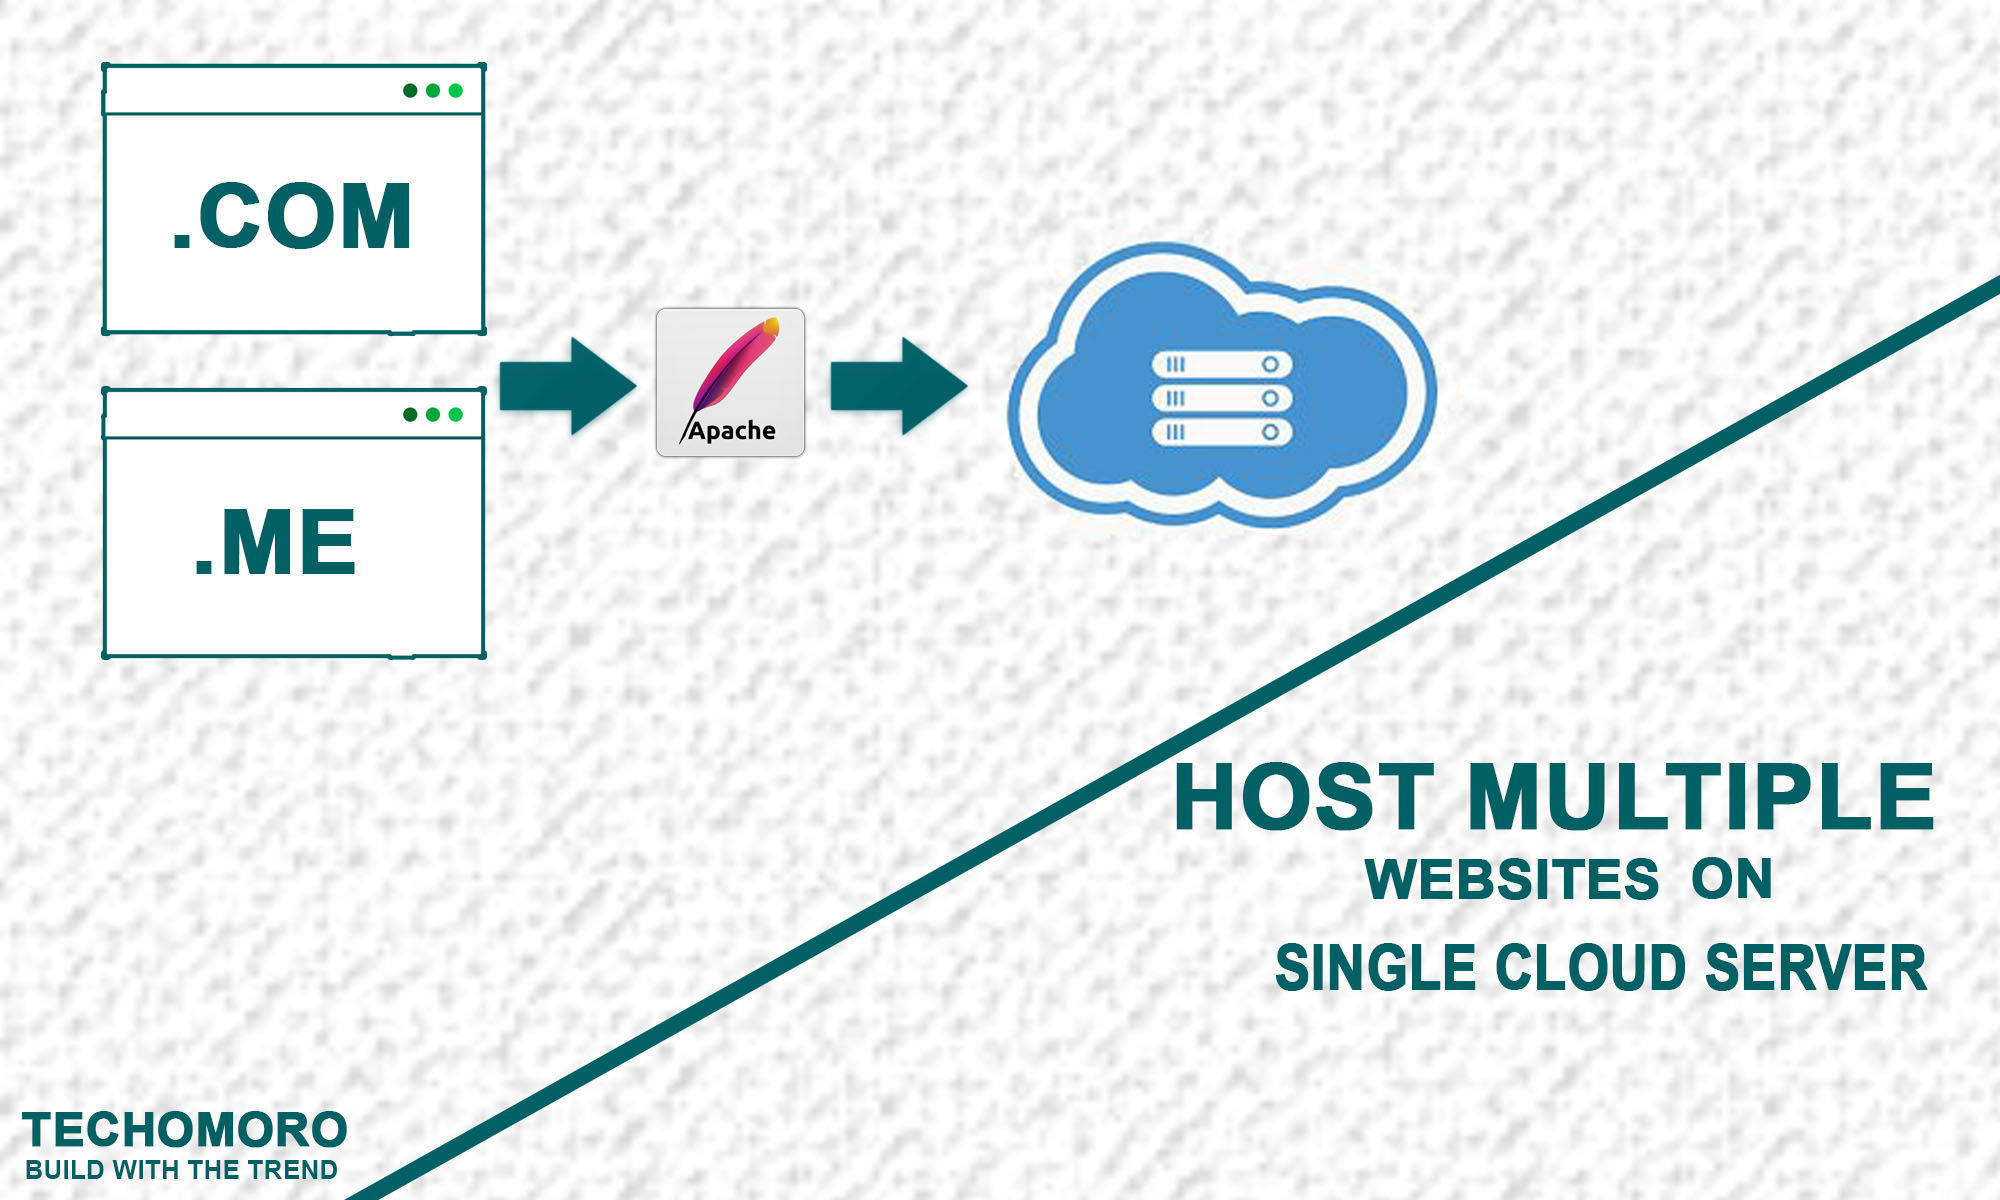
If we own a cloud server with a medium or high specification, we can host multiple websites in it with different domain names. If we need to host a web app backend on any cloud server, it does require an HTTP web server. The most popular HTTP servers available are Apache and NGINX. Here we are working with Apache2.
The Apache HTTP Server, colloquially called Apache, is a free and open-source cross-platform web server, released under the terms of Apache License 2.0. Apache is developed and maintained by an open community of developers under the auspices of the Apache Software Foundation.
We are going to host two websites in the same cloud server with apache.
STEPS
1. CREATE WEB PAGES
First of all, we are going to create two directories MyFirstWebsite and MySecondWebsite inside /var/www/html (default root folder of the web server). Now create an index.html file inside both directories we created earlier and add the below code inside the file.
MyFirstWebsite/index.html
<html>
<body>
<h1>This is My First Website</h1>
</body>
</html>
MySecondWebsite/index.html
<html>
<body>
<h1>This is My Second Website</h1>
</body>
</html>
Note: Consider these two web pages as two different websites we own.
2. CONFIGURE APACHE SERVER
Now we need to create apache configuration files for each webpage we created. So direct to the sites-available directory inside apache2 and create a file named MyFirstWebsite.conf.
cd /etc/apache2/sites-available
nano MyFirstWebsite.conf
Now add the below code in it.
/etc/apache2/sites-available/MyFirstWebsite.conf
<VirtualHost *:80>
   ServerAdmin [email protected]
   DocumentRoot /var/www/html/MyFirstWebsite
   ServerName myfirstblog.com
   ServerAlias www.myfirstwebsite.com
   <Directory /var/www/html/MyFirstWebsite>
        Options Indexes FollowSymLinks
        AllowOverride all
        Require all granted
   </Directory>
</VirtualHost>
Also, create a file named MySecondWebsite.conf.
nano MyFirstWebsite.conf
Now add the below code in it.
/etc/apache2/sites-available/MySecondWebsite.conf
<VirtualHost *:80>
ServerAdmin [email protected]
DocumentRoot /var/www/html/MySecondWebsite
ServerName myfirstblog.com
ServerAlias www.mysecondwebsite.com
<Directory /var/www/html/MySecondWebsite>
Options Indexes FollowSymLinks
AllowOverride all
Require all granted
</Directory>
</VirtualHost>
Now we have to enable these configurations using the below commands.
sudo a2ensite MyFirstWebsite.conf
sudo a2ensite MySecondWebsite.conf
After that, restart our apache server.
sudo service apache2 restart
Now our server configurations are set.
3. SET NAMESERVERS FOR THE DOMAINS
In the previous steps, we used myfirstwebsite.com and mysecondwebsite.com as examples. We need to change it to the correct domain names we own and change the DNS information from the domain name registrar’s website. As a default, we can see a bunch of values in our DNS configuration. Just delete all and add
A record with the name our-domain-name.com and value our-cloud-server-IP-address
and
CNAME with name www and value our-domain-name.com
and it is all set.
Have a nice code !


Be the first to reply