

When developing a big web project, we need a team. But when it’s a huge one, we can split the project into many and assign it to multiple teams. We can run each project separately and even host them on different servers. This gives teams more control over a huge project. Here we will discuss the Multi Zones, the Next.js way to combine multiple apps.
Prerequisites
Before continuing this article, I assume that the reader has a basic understanding of the following:-
- Working with the Next.js framework
What we will learn
After completing this article, we will create two Next.js apps and combine them using the multi-zones feature.
The Next.js app 1 will serve the Home page and Next.js app 2 will serve the blog page.
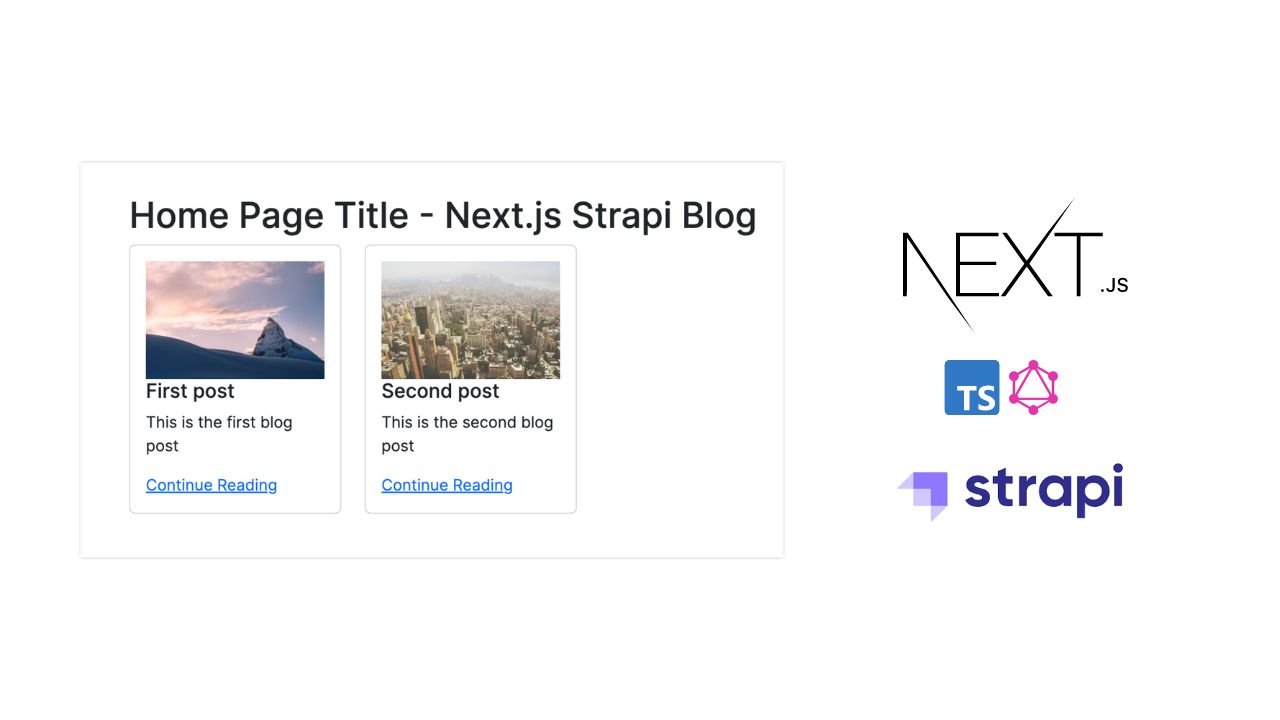
The app will work the same as given below after all the steps.

What is a zone?
A zone actually refers to a single Next.js app running on a server or locally. We can merge multiple zones into a single app.
Assume that we are developing a product website with a blog section. If the domain name is https://kuty.me, we want to get the blog section with the URL https://kuty.me/blog.
In a normal case, we can code both use cases in a single app. But we need more control over both sections so that are separately creating both 2 Next.js apps to serve two different URLs.
Then we will combine both apps so that the change in path/ page in the first app returns the page from the second app.
Referring to the table will let us understand the logic more deeply.
| Zone | URL |
|---|---|
| Next.js App 1(Home page) | https://kuty.me |
| Next.js App 2(Blog) | https://kuty.me/blog |
So let’s start coding two simple Next.js apps and combine them. Multiple Next.js apps can combine together to build a huge app using the multi-zones feature.
Install Node.js, VS code and create a project directory
We can easily create a Next.js app using the NPX tool. So we need to install Node.js on our system first. Install Node.js on our system or check if it already exists.

We are creating a directory my-business-website and placing both the Next.js apps inside it.
mkdir my-business-website
cd my-business-website
I also assume that you have already installed the VS code on your system. Otherwise, install it.
Create the first Next.js app to serve the home page
Now we can create a Next.js app using the NPX tool. The duty of this app is to serve the home page or the / route.
npx create-next-app home
cd home
code .
This will open our first project in VS code. Now from the VS code terminal, run our first Next.js app.
npm run dev
Create the second Next.js app to serve the blog section
In the same manner, mentioned above, we need to create another Next.js app to serve the blog section.
npx create-next-app blog
cd blog
code .
This will open our first project in VS code. Now from the VS code terminal, run our first Next.js app.
Here, before running the app, we need to change the port from the package.json file. Because we need to parallelly run the second app in a separate port number. Here I am choosing port 4000 for the second app.
"scripts": {
    "dev": "next dev -p 4000",
    ...
},
So that the complete package.json file looks the same as below.

npm run dev
Now the Next.js app 1(home) and Next.js app 2(blog) is running in ports 3000 and 4000.

Setup the Home app (App 1)
The home app is our first Next.js project where are coding the home page. We will also add the URL rewrite rules inside this app.
Header component to handle Navigation
A Header component is needed in our app to navigate between pages. So inside components/Header.js, we are adding the links to the paths, /home, and /blog.
Here the /blog will redirect to the second Next.js app. We will code the redirection logic later.
// components/Header.js

import Link from "next/link";

function Header() {
  return (
    <nav>
      <Link href="/">
        <a>Home</a>
      </Link>
      <Link href="/blog">
        <a>Blog</a>
      </Link>
    </nav>
  );
}

export default Header;
Home page for the first app
Now, import the header component in pages/index.js which is our root page of app 1.
// pages/index.js

import Header from "../components/Header";
import styles from "../styles/Home.module.css";

export default function Home() {
  return (
    <div className={styles.container}>
      <Header />

      <main className={styles.main}>
        <h1 className={styles.title}>Home page</h1>
      </main>
    </div>
  );
}
Create an ENV file
In our home app, need to store the URL to our blog app. Because we are running the blog app in port 4000, the URL will be https://localhost:4000. So create a file .env in root and add the code below.
BLOG_URL="http://localhost:4000"Adding URL Rewrites
Rewrites allow us to map an incoming request path to a different destination path.
In our case, we need to redirect /blog and /blog/* to a separate Next.js app.
So we need to code the rewrite paths in the next.config.js file.
// next.config.js

const { BLOG_URL } = process.env;

module.exports = {
  async rewrites() {
    return [
      {
        source: "/:path*",
        destination: `/:path*`,
      },
      {
        source: "/blog",
        destination: `${BLOG_URL}/blog`,
      },
      {
        source: "/blog/:path*",
        destination: `${BLOG_URL}/blog/:path*`,
      },
    ];
  },
};
Setup the blog app (App 2)
Now we are going to set up the blog app, which is the second Next.js app to handle the /blog and /blog/* paths.
This app only contains the logic to handle the blog section of our entire app.
Create a header component
We can not use the Header from app 1 in our app 2. So we want to create a Header for our app2 individually.
Inside components/Header.js, we are coding the Header for the second app.
// components/Header.js

import Link from "next/link";

function Header() {
  return (
    <nav>
      <Link href="../">
        <a>Home</a>
      </Link>
      <Link href="/">
        <a>Blog</a>
      </Link>
    </nav>
  );
}

export default Header;
Posts component
In a blog app, we need to display the posts. Let us hard code some posts in the components/Posts.js file, where clicking each post will direct to the post details page.
// components/Posts.js

import Link from "next/link";

function Header() {
  return (
    <div className="posts">
      <Link href="/post1">
        <a>
          <div className="post">
            <h2>Post 1</h2>
            <p>
              Lorem Ipsum is simply dummy text of the printing and typesetting
              industry. Lorem Ipsum has been the industry's standard dummy text
              ever since the 1500s
            </p>
          </div>
        </a>
      </Link>
      <Link href="/post2">
        <a>
          <div className="post">
            <h2>Post 2</h2>
            <p>
              Lorem Ipsum is simply dummy text of the printing and typesetting
              industry. Lorem Ipsum has been the industry's standard dummy text
              ever since the 1500s
            </p>
          </div>
        </a>
      </Link>
    </div>
  );
}

export default Header;
The home page for the second app
Import the Header and Posts components in the pages/index.js, which is the home page of our second app.
// pages/index.js

import Header from "../components/Header";
import Posts from "../components/Posts";
import styles from "../styles/Home.module.css";

export default function Home() {
  return (
    <div className={styles.container}>
      <Header />
      <main className={styles.main}>
        <h1 className={styles.title}>Blog page</h1>
        <Posts />
      </main>
    </div>
  );
}
Post details page
Clicking each post will show a details page. We need to code this in pages/[postSlug].js, where the [postSlug] is the slug of each post.
// pages/[postSlug].js

import Header from "../components/Header";
import styles from "../styles/Home.module.css";
import { useRouter } from "next/router";

export default function SinglePost() {
  const router = useRouter();
  return (
    <div className={styles.container}>
      {console.log("hai")}
      <Header />
      <main className={styles.main}>
        <h1 className={styles.title}>Single Post page</h1>
        <p>Post slug: {router.query.postSlug}</p>
        <p>We can use this slug to fetch post details from server</p>
      </main>
    </div>
  );
}
Setting the base path
In our second app, we need to set up the base path as /blog because the route /blog should return the home page of our second app.
So inside the next.config.js, set up a base path.
// next.config.js

module.exports = {
  basePath: "/blog",
};
Re-run both the apps
Because the next.config.js file has changed in both apps, we need to re-run them. So stop both apps and re-run using the command below.
npm run dev
GitHub
You can always refer to the GitHub repository to clone this project, refer to the code and work on top of it.
https://github.com/techomoro/multi-zone-nextjs-example
Summary
Here we created two separate Next.js apps and combined them together. Multi zones make it easier to handle huge applications build using the Next.js framework.


Thanks for the post! Is there a way to have a shared navbar for the different nextjs apps in this example?