
We know that React is getting more popular among developers nowadays. It is a JavaScript library that is easy to learn and code. macOS is one of the most loved operating systems by developers. In this article, we will discuss the steps to install React JS on MacOS X.
React is maintained by Facebook and a community of individual developers and companies. It can be used as a base, for the development of single-page or mobile applications.
It also enables the feature of reusability of components which significantly reduces the number of lines in our project.
React Native, one of the most lovable hybrid mobile application development frameworks is also based on React.
Let us quickly jump into the steps to install React on our macOS X and create a new app.
Prerequisites
To continue with this article, the reader must know the basics of working with the Terminal in macOS X.
What we will learn?
Here in this article, we will learn the following things.
- Install Node.js on a MacOS system
- Creating a new React project using the create-react-app tool.
- Running the React app
Install Nodejs
In this tutorial, we are going to install React using the Node Package Manager(NPM). So first, we need to install Nodejs on our system. NPM will be installed with Nodejs itself.
We can download and install Nodejs from the official website. Currently, 16.13.0 is the stable version of Nodejs and it can download and install on our system using the URL below.
https://nodejs.org/en/download/current/

From the page, select the macOS installer option and download the pkg file. Then install it on our system.
Creating a New React Project
After the successful installation of Nodejs and NPM, we can create our first React application using the create-react-app tool. The below command will temporarily install the create-react-app tool on our system and create a new react project.
So open the Terminal window and execute the command.
npx create-react-app awesome-project
Here, awesome-project is the name I have chosen for my React project.
Running the Application
So we have created a new React project in our macOS system. Now let’s start the app with the below commands.
cd awesome-project
npm start
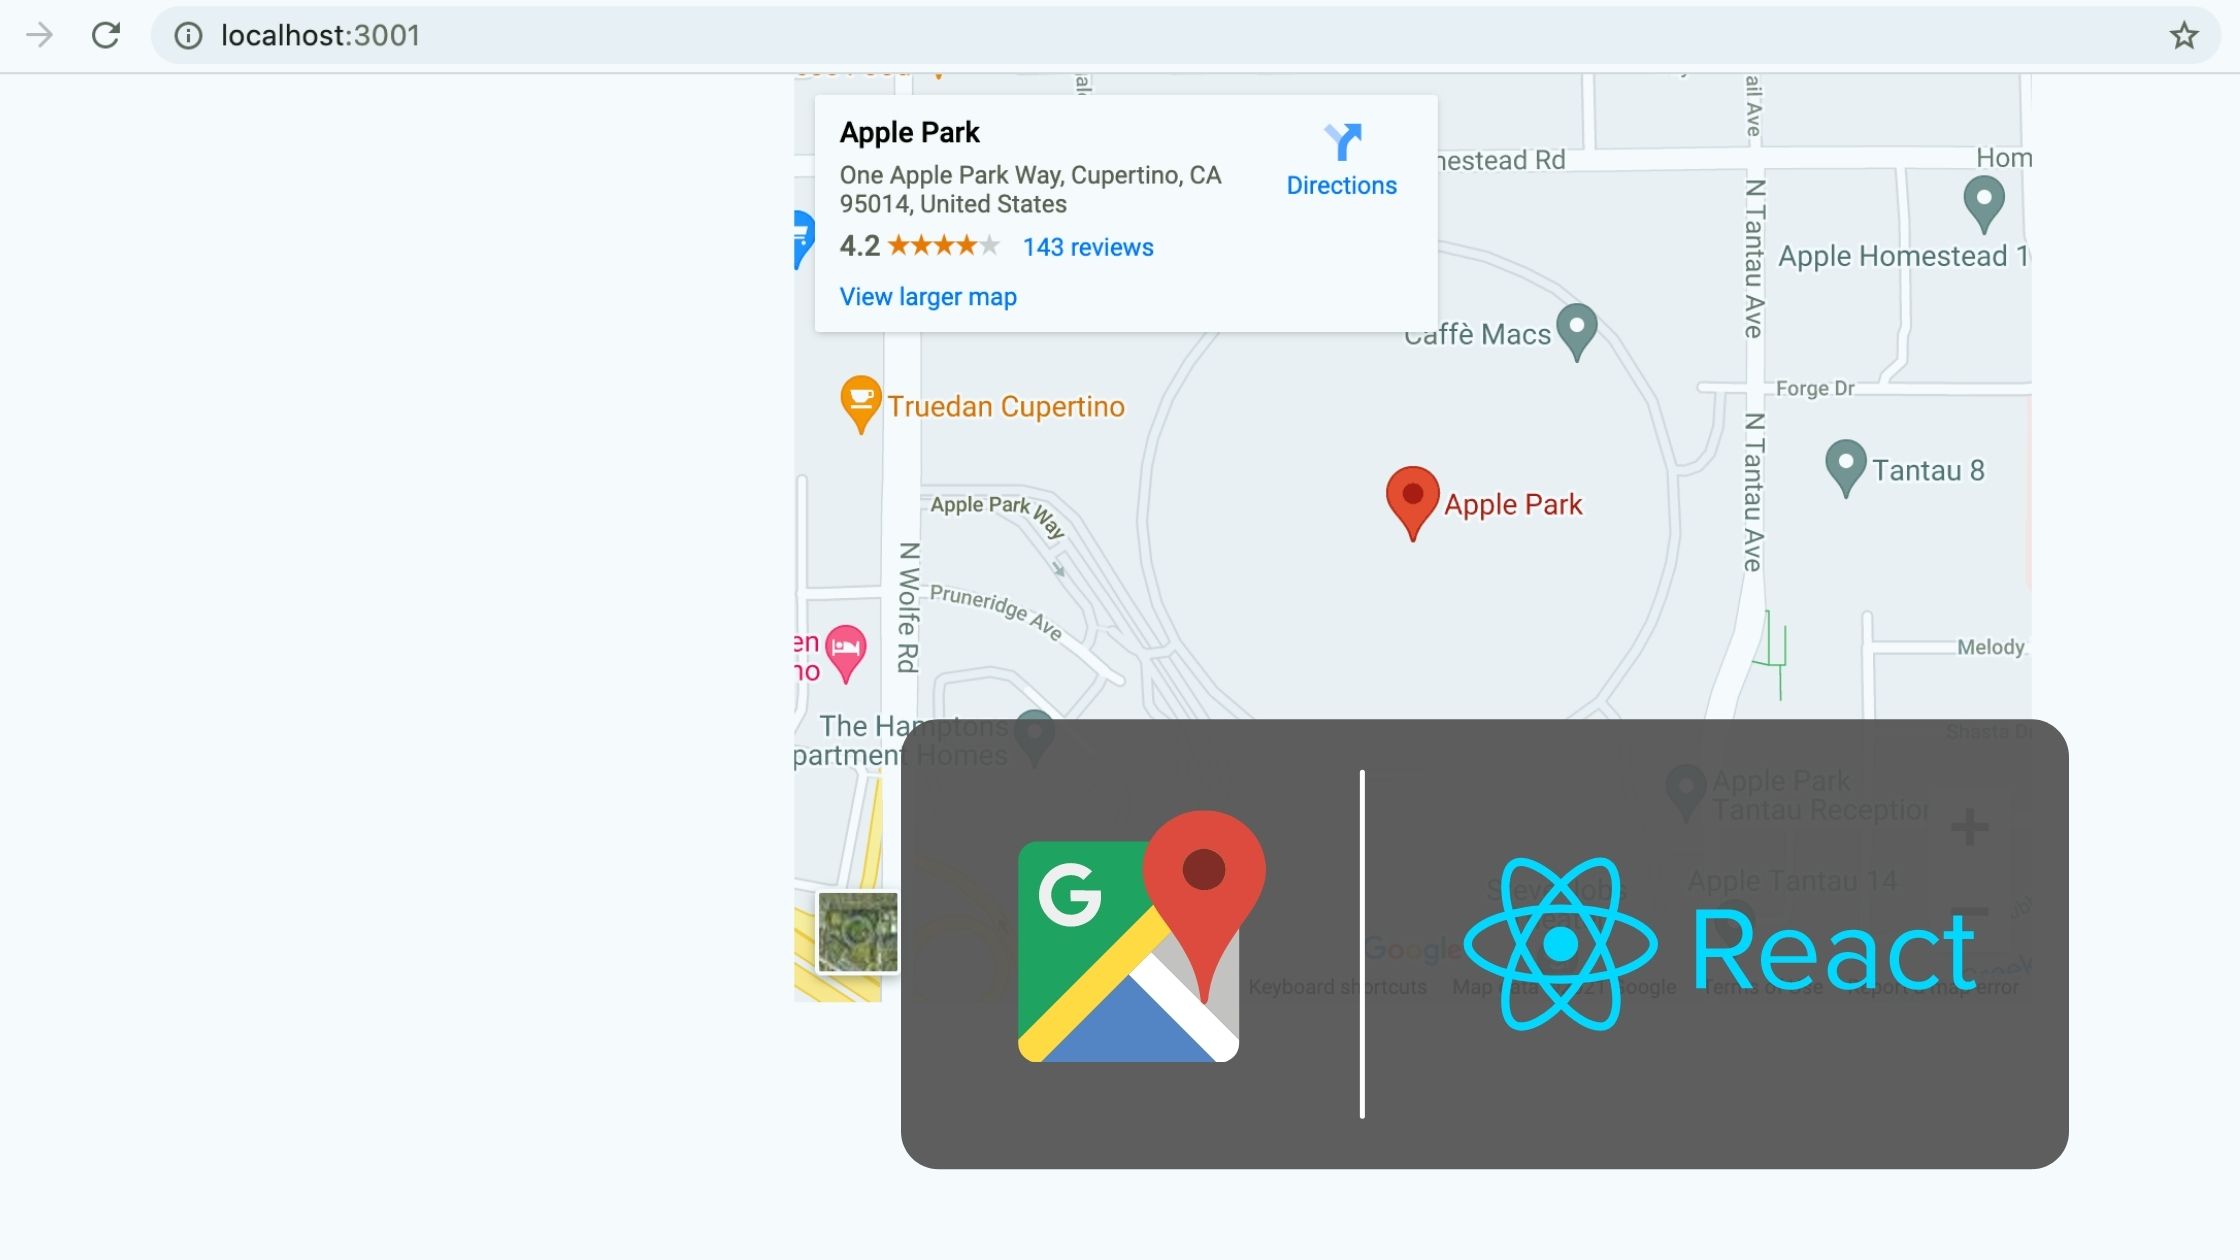
This will open up the newly created react app in a new tab on our browser with the URL http://localhost:3000. If port 3000 is busy, the app will open up in any other port available.
Summary
Here we discussed the steps to install React on MacOS. As the favorite operating system of developers, macOS is getting more popular. React developers can use this guide to quickly set up an environment for React in their mac system.


Be the first to reply