
I know that the title of this post might confuse you if you are familiar with React. Because React deals with components instead of pages. But how can we create a multi-page website with React?
Prerequisites
I believe that the reader has a basic understanding of the following things:-
- Creating applications using the React library and create-react-app tool.
- Installing packages in a React app.
- Adding bootstrap CSS in our app
What we will learn
In this article, we will learn to:-
- Create a new React application
- Installing the react-router-dom v6 package
- Adding Bootstrap in our app using the CDN method
- Create a Navigation component
- Add route components that behave like pages of a normal website.
- Nested route components
Routes and Corresponding pages
A React app consists of a single HTML file index.html. The views are coded in JSX format as components.
But we sometimes need to implement multi-page websites because a single-page website can not always represent complete information.
Note:- We can actually integrate React in a multi-page web application by developing a Webpack configuration that includes React components into generated static pages (i.e. HTML files). If you are interested to do it, then follow the article Multi-Page Application with React. But now, we are dealing with routes.
But here we are going to build a website with multiple routes instead of multiple pages. Because React is not designed to develop multi-page websites.
We will use the package React router v6 to implement this function.
In the eyes of the user, it will behave like a multi-page website.
So, let us create multiple routes to handle multiple views. The routes of the app and its corresponding view are described below.
| Route | Corresponding page |
| / | Home page |
| /about | About page |
| /contact | Contact page |
| /blog | Blog page (Displays all the posts) |
| /blog/[post-slug] | Post page ( Displays post with the post-slug) |
Note that, /blog/[post-slug] is a dynamic route where the post-slug changes with each post.
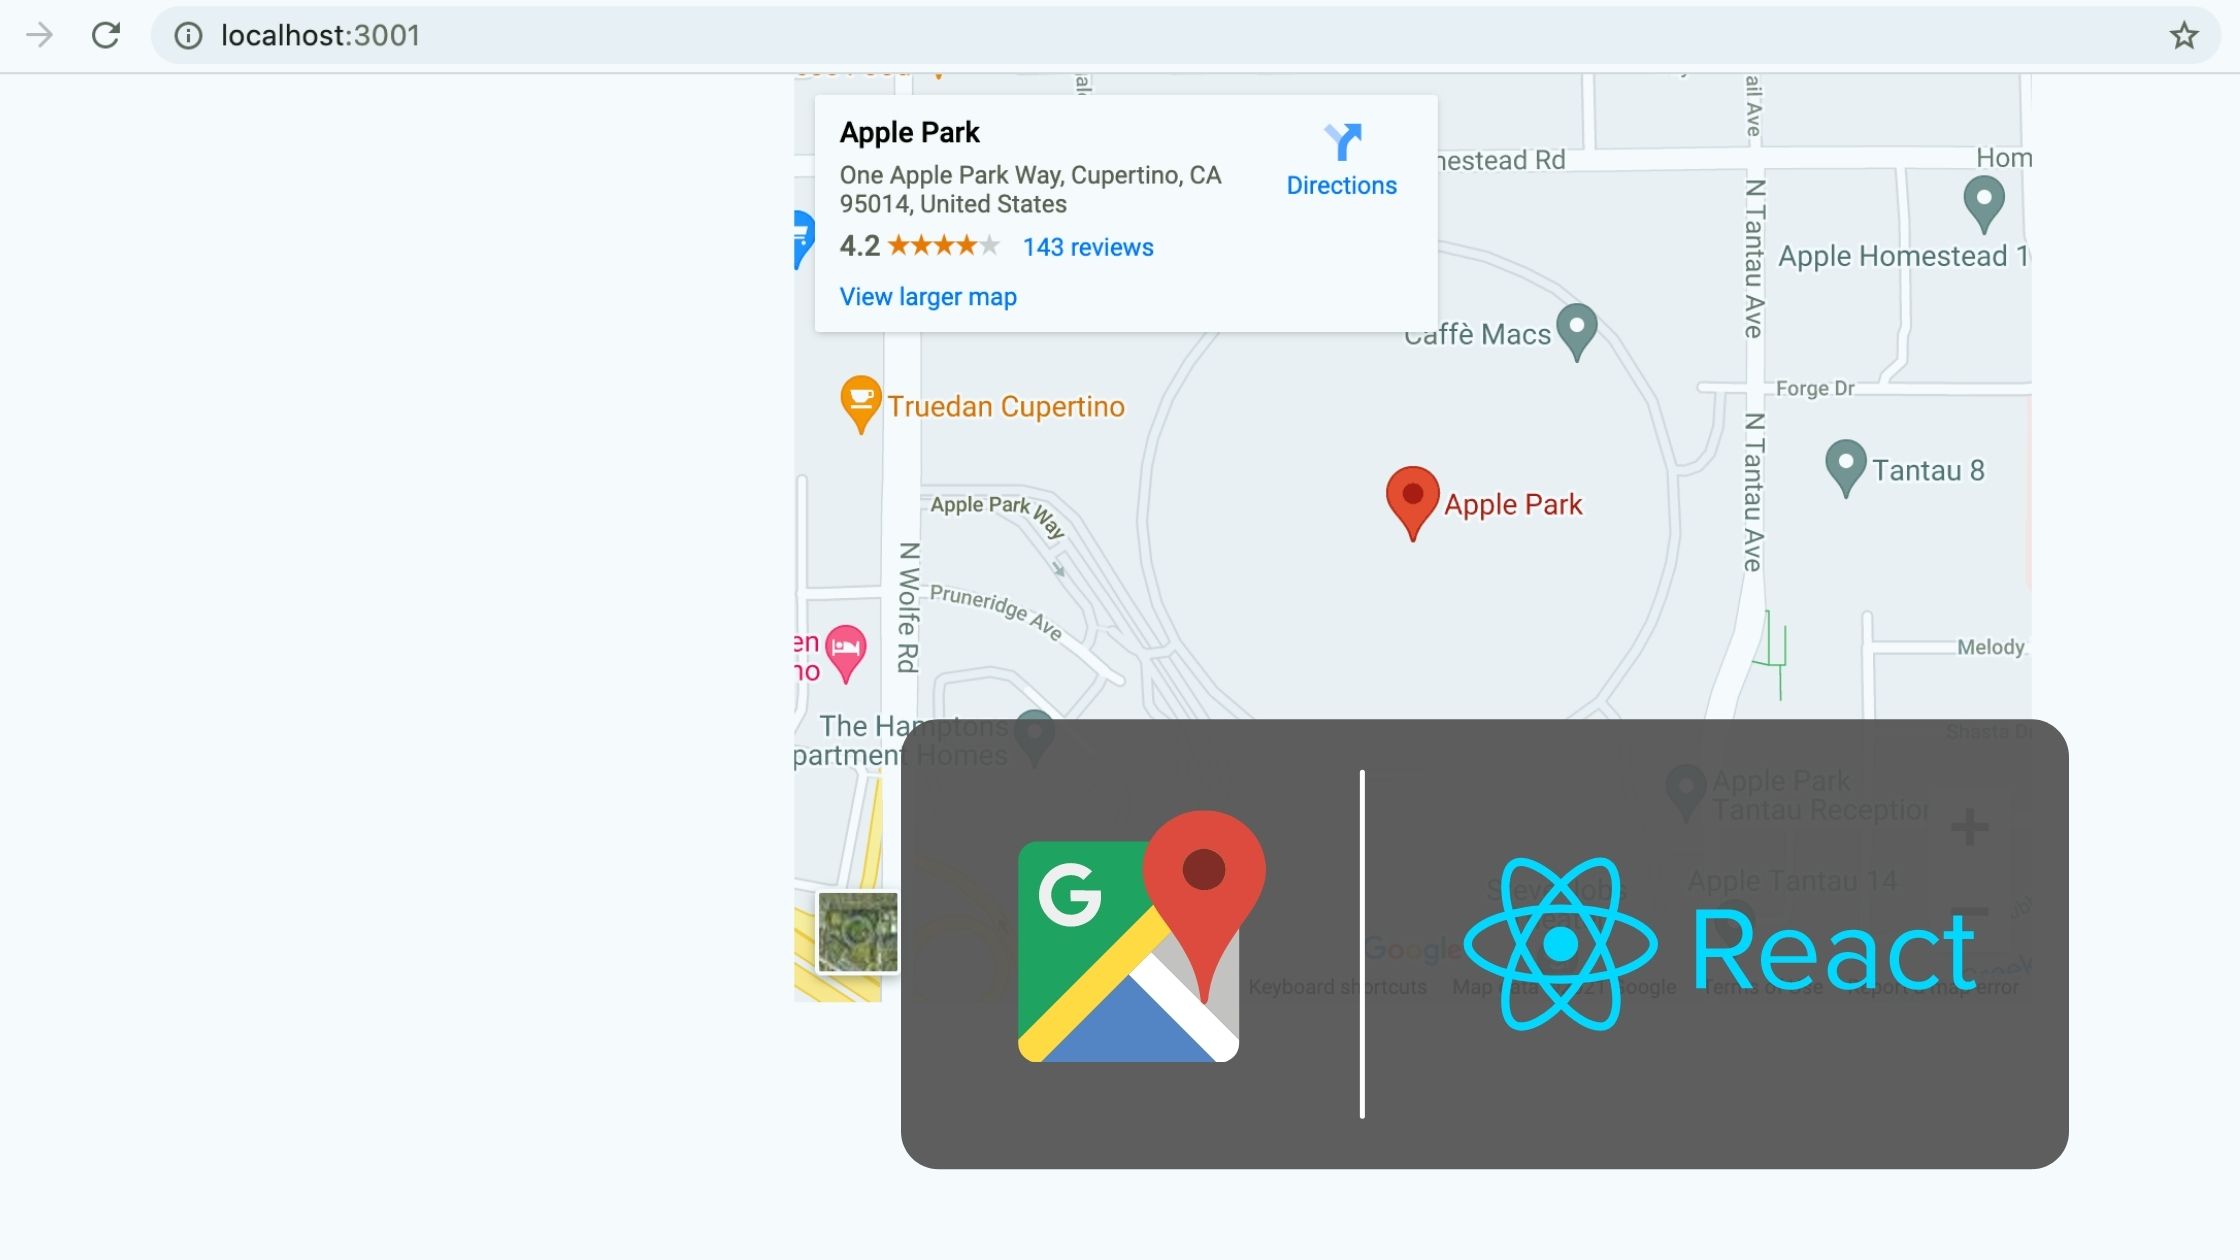
The below GIF will make you understand the exact idea about the view and working of this app.

Create a React application
First, we need to create a react application using the NPX tool. Don’t worry about NPX, because it’s a tool coming with NPM(Node Package Manager) 5.2+ onwards.
So, after a successful installation of Node.js, create a React application using NPX.
npx create-react-app react-multi-page-website
This command will create a react application with the project name react-multi-page-website.
Now enter the project directory and start the app.
cd react-multi-page-website
npm start
It will open up the React application we have created in our browser window with the address https://localhost:3000. The port may vary if 3000 is busy.

If you need further assistance in the installation of React on your system, use the below links.
Install React on Windows, Ubuntu, and macOS
Install React-Router-Dom
So we are building a React app with multiple routes and it requires a package react-router-dom. Install it with NPM.
Note:- In the previous step, we started the app in a terminal tab. So, open another terminal tab/window to run the below command.
npm i react-router-dom
This will install the latest version react-router-dom version 6 in our app.
From version 6 onwards, the package has a lot of changes and you must confirm the version is 6. Otherwise use the command below to install the latest version of the /react-router-dom package.
npm i react-router-dom@6 history@5
Now we can use our favorite code editor to edit our project. I personally recommend Visual Studio Code.
Add Bootstrap CDN
We are using a bootstrap template to set up our view and it requires a Bootstrap CSS file. We can add bootstrap to our react application in multiple ways and here I am using the Bootstrap CDN.
So, open index.html file in public directory and add the bootstrap CDN inside <head></head> section.
<link rel="stylesheet" href="https://stackpath.bootstrapcdn.com/bootstrap/4.3.1/css/bootstrap.min.css"/>So that the complete index.html file looks like the below.
<!DOCTYPE html>
<html lang="en">
  <head>
    <meta charset="utf-8" />
    <link rel="icon" href="%PUBLIC_URL%/favicon.ico" />
    <meta name="viewport" content="width=device-width, initial-scale=1" />
    <meta name="theme-color" content="#000000" />
    <meta
      name="description"
      content="Web site created using create-react-app"
    />
    <link
      rel="stylesheet"
      href="https://stackpath.bootstrapcdn.com/bootstrap/4.3.1/css/bootstrap.min.css"
    />
    <title>React App</title>
  </head>
  <body>
    <noscript>You need to enable JavaScript to run this app.</noscript>
    <div id="root"></div>
  </body>
</html>
Building the Components
In this article, we are building 5 components.
- Navigation.jsx and Footer.jsx those are common for all routes.
- Home.jsx, About.jsx and Contact.jsx those are the routes.
- Blog.jsx, Post.jsx and Post.jsx for dealing with nested routes inside /blog.
First, create a components directory inside src. All our components will be coded inside it.
Navigation.jsx
This is the topmost section of our app which deals with the navigation of our routes. From React router version 6 onwards, we can use NavLink instead of Link. So that the selected link will be highlighted as default without any code.

We are using <NavLink> instead of <a> tag. Clicking each link will route to the specific path described.
<NavLink to="/">Home</NavLink>– The route to the home page is http://localhost:3000-
<NavLink to="/about">About</NavLink>– About page route that is, http://localhost:3000/about -
<NavLink to="/contact">NavLink</Link>– Route to the contact page that is http://localhost:3000/contact <NavLink to="/blog">Blog</NavLink>– Route to the blog page that is http://localhost:3000/blog
import React from "react";
import { NavLink } from "react-router-dom";

function Navigation() {
  return (
    <div className="navigation">
      <nav className="navbar navbar-expand navbar-dark bg-dark">
        <div className="container">
          <NavLink className="navbar-brand" to="/">
            React Multi-Page Website
          </NavLink>
          <div>
            <ul className="navbar-nav ml-auto">
              <li className="nav-item">
                <NavLink className="nav-link" to="/">
                  Home
                  <span className="sr-only">(current)</span>
                </NavLink>
              </li>
              <li className="nav-item">
                <NavLink className="nav-link" to="/about">
                  About
                </NavLink>
              </li>
              <li className="nav-item">
                <NavLink className="nav-link" to="/contact">
                  Contact
                </NavLink>
              </li>
              <li className="nav-item">
                <NavLink className="nav-link" to="/blog">
                  Blog
                </NavLink>
              </li>
            </ul>
          </div>
        </div>
      </nav>
    </div>
  );
}

export default Navigation;
Footer.jsx
We need a bottom section which is the footer. This section is also common for all routes.
import React from "react";
function Footer() {
return (
<div className="footer">
<footer class="py-5 bg-dark fixed-bottom">
<div class="container">
<p class="m-0 text-center text-white">
Copyright © Your Website 2020
</p>
</div>
</footer>
</div>
);
}
export default Footer;Home.jsx
This is the view of our Home page and rendered when the route is “/”.
import React from "react";

function Home() {
  return (
    <div className="home">
      <div class="container">
        <div class="row align-items-center my-5">
          <div class="col-lg-7">
            <img
              class="img-fluid rounded mb-4 mb-lg-0"
              src="http://placehold.it/900x400"
              alt=""
            />
          </div>
          <div class="col-lg-5">
            <h1 class="font-weight-light">Home</h1>
            <p>
              Lorem Ipsum is simply dummy text of the printing and typesetting
              industry. Lorem Ipsum has been the industry's standard dummy text
              ever since the 1500s, when an unknown printer took a galley of
              type and scrambled it to make a type specimen book.
            </p>
          </div>
        </div>
      </div>
    </div>
  );
}

export default Home;
About.jsx
This is the view of the About page and rendered when the route is “/about”.
import React from "react";

function About() {
  return (
    <div className="about">
      <div class="container">
        <div class="row align-items-center my-5">
          <div class="col-lg-7">
            <img
              class="img-fluid rounded mb-4 mb-lg-0"
              src="http://placehold.it/900x400"
              alt=""
            />
          </div>
          <div class="col-lg-5">
            <h1 class="font-weight-light">About</h1>
            <p>
              Lorem Ipsum is simply dummy text of the printing and typesetting
              industry. Lorem Ipsum has been the industry's standard dummy text
              ever since the 1500s, when an unknown printer took a galley of
              type and scrambled it to make a type specimen book.
            </p>
          </div>
        </div>
      </div>
    </div>
  );
}

export default About;
Contact.jsx
This is the view of the Contact page and rendered when the route is “/contact”.
import React from "react";

function Contact() {
  return (
    <div className="contact">
      <div class="container">
        <div class="row align-items-center my-5">
          <div class="col-lg-7">
            <img
              class="img-fluid rounded mb-4 mb-lg-0"
              src="http://placehold.it/900x400"
              alt=""
            />
          </div>
          <div class="col-lg-5">
            <h1 class="font-weight-light">Contact</h1>
            <p>
              Lorem Ipsum is simply dummy text of the printing and typesetting
              industry. Lorem Ipsum has been the industry's standard dummy text
              ever since the 1500s, when an unknown printer took a galley of
              type and scrambled it to make a type specimen book.
            </p>
          </div>
        </div>
      </div>
    </div>
  );
}

export default Contact;
Nested route components
Now we can code the components to deal with the nested routes. In our article, we are creating nested routes inside the /blog route.
| Route | Corresponding page |
| /blog | Blog page (Displays all the posts) |
| /blog/[post-slug] | Post page ( Displays post with the post-slug) |
The /blog/[post-slug] is a dynamic route where the post-slug changes with each post.
For example /blog/first-post, /blog/second-post etc.

We are storing all the components for the blog route inside the components/blog directory.
Here we will meet a feature in react-router-dom version 6 called Outlet.
Outlet renders the child routes element if there is one. We will discuss the child routes later when declaring all the routes.
Now let us create a Blog.js component inside the components/blog directory.
import React from "react";
import { Outlet } from "react-router-dom";

function Blog() {
  return (
    <div className="home">
      <div class="container">
        <h1 className="text-center mt-5">Blog page</h1>
        <Outlet />
      </div>
    </div>
  );
}

export default Blog;
The nested routes will be declared the same as below.
<Route path="/blog" element={<Blog />}>
    <Route path="" element={<Posts />} />
    <Route path=":postSlug" element={<Post />} />
</Route>
Here, /blog acts as a parent route. Inside it, the <Route path=”” will render the contents for the /blog route, and <Route path=”:postSlug” will route to the Post component that displays a single post.
Here, all the contents in the Blog.js file will be common for its child elements. Only the Outlet position will be replaced.
Let us create a component Posts.js to show all the posts. This will be a child component inside the blog directory. We will declare the routes later.
import React from "react";
import { Link } from "react-router-dom";

function Posts() {
  return (
    <div className="home">
      <div class="container">
        <Link to="/blog/this-is-a-post-title">
          <div class="row align-items-center my-5">
            <div class="col-lg-7">
              <img
                class="img-fluid rounded mb-4 mb-lg-0"
                src="http://placehold.it/900x400"
                alt=""
              />
            </div>
            <div class="col-lg-5">
              <h1 class="font-weight-light">This is a post title</h1>
              <p>
                Lorem Ipsum is simply dummy text of the printing and typesetting
                industry. Lorem Ipsum has been the industry's standard dummy
                text ever since the 1500s, when an unknown printer took a galley
                of type and scrambled it to make a type specimen book.
              </p>
            </div>
          </div>
        </Link>
      </div>
    </div>
  );
}

export default Posts;
One more component needed for our nested routes is Post.js and we can code it. This will display a single post.
import React, { useEffect } from "react";
import { useParams } from "react-router";

function Post() {
  let { postSlug } = useParams();

  useEffect(() => {
    // Fetch post using the postSlug
  }, [postSlug]);

  return (
    <div className="home">
      <div class="container">
        <h1 className="mt-5">This is a Post Title</h1>
        <h6 className="mb-5">The post slug is, {postSlug}</h6>
        <p>
          Lorem Ipsum is simply dummy text of the printing and typesetting
          industry. Lorem Ipsum has been the industry's standard dummy text ever
          since the 1500s, when an unknown printer took a galley of type and
          scrambled it to make a type specimen book.
        </p>
      </div>
    </div>
  );
}

export default Post;
We need to access the post slug or id from the URL to fetch the post from the backend or database. This can be accessed using useParams() function in react-router-dom.
import React, { useEffect } from "react";
import { useParams } from "react-router";

function Post() {
  let { postSlug } = useParams();
  ...
}
Exporting all components from an index.js file
To simplify importing all the components we have created, we are exporting all components from a single file index.js inside the components directory.
export { default as Navigation } from "./Navigation";
export { default as Footer } from "./Footer";
export { default as Home } from "./Home";
export { default as About } from "./About";
export { default as Contact } from "./Contact";
export { default as Blog } from "./blog/Blog";
export { default as Posts } from "./blog/Posts";
export { default as Post } from "./blog/Post";
Declare all routes in index.js
So, after creating all the components, we need to import them all to the index.js file. Here we will declare all the routes in our app.
import React from "react";
import ReactDOM from "react-dom";
import "./index.css";
import * as serviceWorker from "./serviceWorker";
import { BrowserRouter as Router, Route, Routes } from "react-router-dom";
import {
  Navigation,
  Footer,
  Home,
  About,
  Contact,
  Blog,
  Posts,
  Post,
} from "./components";

ReactDOM.render(
  <Router>
    <Navigation />
    <Routes>
      <Route path="/" element={<Home />} />
      <Route path="/about" element={<About />} />
      <Route path="/contact" element={<Contact />} />
      <Route path="/blog" element={<Blog />}>
        <Route path="" element={<Posts />} />
        <Route path=":postSlug" element={<Post />} />
      </Route>
    </Routes>
    <Footer />
  </Router>,

  document.getElementById("root")
);

serviceWorker.unregister();
We really don’t need the App.js file which is created as default with create-react-app. So we can delete it.
So the complete app we have created looks the same as below.

Codesandbox
Refer to the CodeSandbox link to view the live app.
https://codesandbox.io/s/wizardly-chaum-kbr2r
GitHub
You can always refer to the GitHub repository to clone this project.
https://github.com/techomoro/ReactMultiPageWebsite
Summary
So, in this article, we have discussed the steps for creating a multi-page website using React. Actually, it is a multi-component website but works the same as a multi-page. I also included the GitHub repository URL where you get the complete project for reference.

Hello.
I have been utilising this tutorial as I am in ‘need’ of revamping my website into one based on React.
I were able get the first ‘localhost’ screen available on my browser; thought I were not able to retrieve the files that I added in the components folder.
I looked at your github afterwards and I were not able to spot any differences on the project at all.
If you could make sure to add instructions on how and when the differences are supposed to appear in your upcoming tutorials; that would be appreciated!
Thank you for a well-written tutorial.
Simplest explanation ever. Great Work 👍️
This is a single page app
Technically, it’s a single-page website. But in practical use, it acts as a multi-page website.
Thank you for spending the time to create this tutorial! I am a bit stuck and am unsure where I could have gone wrong. I went through the tutorial step by step and when I run the app it pulls up a webpage as expected and the “Home” screen appears as it does on the GIF you provided. When I click on “Contact” or “About,” the center section is blank. The header and footer appear to work just fine. If I click back onto “Home” it is displayed properly again. Any idea on where I could have gone wrong?
Beautiful!! Very simple and straight to the point compared to other tutorials. Thank You!
Hi,
I have tried your example and it works. Since I am still new to react, I noticed that you have two “index.js” files. One in the root directory and another in the “components” directory. When I try to move the lines from “components\index.js” to the one in the root directory. The app returns an error saying “components\index.js” cannot be found… Is there a way to fix this? Is it possible to combine the two index.js into a single file?
Thanks mate. As a beginner, this is the only one tutorial that works among 10 others looking professional though.
But how do I create multiple blog posts?
Thank you so much, I knew how to do it in the @5 but now the @6 docs seem so confusing, and in my Vite app didn’t work at all!
Very grateful for making everything look so simple
Compiled with problems:X
ERROR in ./src/App.js 8:0-90
Module not found: Error: Cannot find file: ‘index.jsx’ does not match the corresponding name on disk: ‘.\src\component\Component’.
In the /src/components/blog/Posts.jsx
I had to remove the ‘/blog/’ from the ‘to’ attribute
I had to download the serviceWorker.js from the code sandbox https://codesandbox.io/s/wizardly-chaum-kbr2r?file=/src/serviceWorker.js:0-5003 and place it inside /src for this to work, which btw needs explanation.
Other than that, works fine.
it looks so simple
my problem is that
after writing successfully compiled, the app shows on the browser and empty page
superb tutorial, easy to understand, and very clear.
thanks a lot