

In our world, the majority of people do not know the English language. Some of us who even understand English is like to view a website in our native language sometimes. So, if you are developing a website or web app by considering the international audiences, the multi-language feature will make it more interesting. So, how to build a simple multi-language website in React?
React, one of the best JavaScript libraries can use to make a simple multi-language website in minutes. Components, states, props, and life cycle methods are really helpful in creating a React application in record time.
But I could not find a good guide for building a multi-language website in React. It’s the inspiration to write this article.
I already built a multi-language website for Mathilakam Narasimha Moorthy temple in Kerala, India. You can refer to the website to get an idea about how a complete multi-language feels like.
What you will learn
Here in this article, you will learn about
- Some basic concepts fo React.js
- Creating a React application
- Implementing Multi-language feature in the app
Some concepts you need to know before we start
So, before start building this React application, you first need to learn some basic HTML, CSS, a little bit of JavaScript and some basic React.js.
If you are really a beginner to React.js, I can give you a basic idea.
What is React.js?
React.js is nothing but a JavaScript library. It is introduced by the Facebook development team as open-source. Their concept was really clear to make Facebook more user-friendly by updating the data user needed that time instead of reloading the entire page.
Facebook.com consists of 20000+ components and working well. So React is have much power to handle such a huge web app.
So, we can discuss some terms regarding a React app.
1. Components
Components are the building blocks of a React application. That is it lets you split up the UI components like Header, Footer, Body, etc.
You can even create a button component and use it anywhere in our app with different colors, styles, functions, etc.
Individual components can be rendered and shown without affecting other components.
I will show you an image that describes the components in clear.

It is the basic layout of a simple web page consisting of a Header, Footer and Body and a Sidebar.
You can design and function each section independently as components. You can even make the search bar as a single component.
A component can be functional or class.
2. State
A state is used to store data that is required by a component. Let us elaborate on the definition.

In the above diagram, there are two buttons in the body component of the app. There initialized a state called message with a blank value.
1and 2. If 1 is clicked, the setState function will trigger, and the “1 is clicked” message will be shown at the bottom. Also, the “2 is clicked” message will appear if button 2 is clicked.
A state called message is initialized first and we change the value of state with respect to each button click.
3. Props
Props are used to transport data from one component to another.
Let us assume that the button clicked message wants to show in the Sidebar component instead of the same component.
So, we need to pass the state value to the Sidebar component. This can be done using props.

4. Life cycle methods
As the name indicates, it is the series of events that happen from the birth of a React component to its death. We can define functions that need to execute just after mounting a component, with each state and prop change, with unmounting a component etc.
componentDidMount(), componentDidUpdate() are the life cycle methods we use in common. Functions inside ComponentDidMount will execute after the component has been mounted and is available to the DOM and componentDidUpdate() is invoked immediately after updating occurs like change in state or props.
But here I am using functional components instead of class. So that we can use the benfits of Hooks. Here, useEffect can help you in implementing the same functions of componentDidMound and componentDidUpdate.
  useEffect(() => {
    ...
  }, []);

// Hooks statement corresponding to componentDidMount
useEffect(() => {
    …
  }, [count]);

// Hooks statement corresponding to componentDidUpdate
5. Hooks
React introduced a feature Hooks in 16.8 version. Using this, we can implement state and other features in a functional component itself.
Before hooks, it does need to use a class component to initialize and use a class a React application.
Refer to the below code to get an idea about managing states using hooks. Here, we initialize a state variable count and a function called setCount to change the value of the state. useState is used to set an initial value to the state.
So that’s the basic concept to build a React application.
Let us start building a multi-language application in React
Here, in this project, we are using functional components only. So that we can use the benefits of hooks to get a cleaner code.
I have shown a gif below that demonstrates the working for the app we are going to build. When language is changed from the Navigation section, the complete language of the app gets changed.

Also, refer to the file structure of the app shown below to get the idea of project development.

So, let us start the development of the application.
Create a React application
The first step is setting up a React application on your system. This can be easily done using NPX tool.
So, install Node.js on your system first and create a react application using NPX. Don’t bother about the term NPX, because it’s a tool coming with NPM(Node Package Manager) 5.2+ onwards which will install on your system with Node.js itself.
If you need further assistance in the installation of React on your system, use the below links.
Install React on Windows, Ubuntu, and macOS
npx create-react-app react-multi-language-website
This command will create a react application with the project name react-multi-language-website.
Now enter the project directory and start the app.
cd react-multi-language-website
npm start
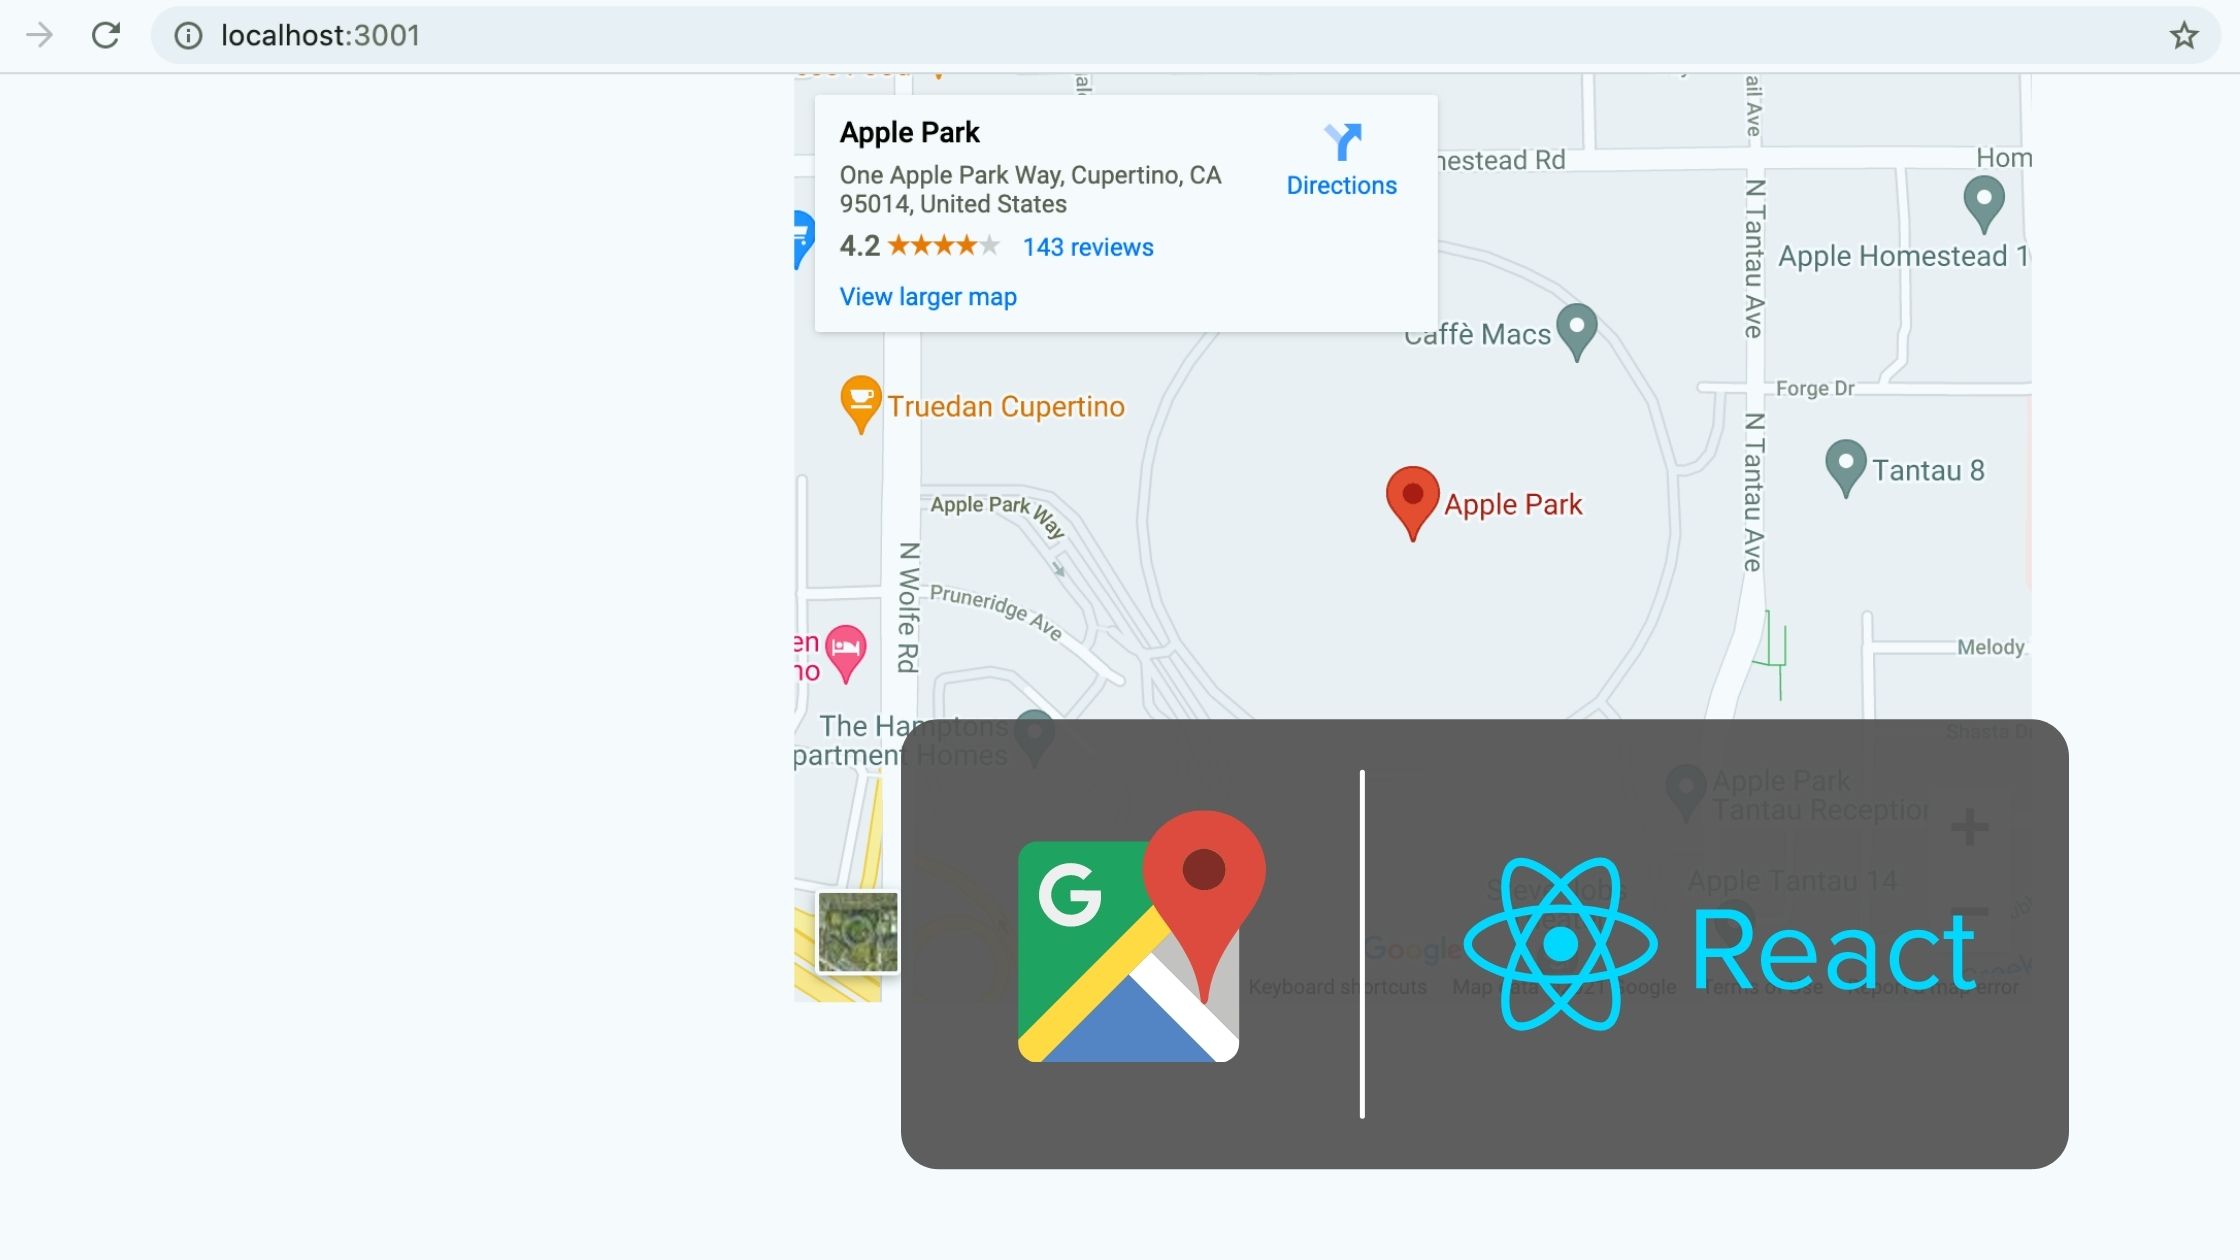
It will open up the React application we have created in our browser window with the address https://localhost:3000. The port may vary if 3000 is busy.

Now we can use our favorite code editor to edit our project. I personally recommend Visual Studio Code.
Add Bootstrap CDN
We are using a bootstrap template to set up our view and it requires a Bootstrap CSS file. We can add bootstrap in our react application multiple ways and here I am using the Bootstrap CDN.
So, open index.html file in public directory and add the bootstrap CDN inside <head></head> section.
<link rel="stylesheet" href="https://stackpath.bootstrapcdn.com/bootstrap/4.3.1/css/bootstrap.min.css"/>
So that the complete index.html file looks like the below.
Building the components
In this article, we are building 5 components for our application.
- Navigation.jsx
- Footer.jsx
- Header.jsx
- WhatWeDo.jsx
- Contact.jsx
First, create components directory inside src. All our components will be coded inside it.
1. Navigation.jsx
This is the topmost section of our app where we are going to implement the language selection.

An HTML select tag is used to toggle between different languages.
We have added two language options English and Malayalam. Selecting a language option passes it’s corresponding value to handleSetLanguage.
If a user chooses English, it’s corresponding value, English is set to e.target.value and this string value is passed to the parent element with the prop value handleSetLanguage.
Note:- You can easily pass props from the child components to its parent as function parameters.
 <select
  className="custom-select"
  value={props.language}
  onChange={e => props.handleSetLanguage(e.target.value)}
>
  <option value="English">English</option>
  <option value="Malayalam">Malayalam</option>
</select>
So that the complete code will be looks like the below.
2. Footer.jsx
We need a bottom section which is the footer. This section is also common for all routes.

The complete JSX code for the Footer section is shown below.
3. Header.jsx
So it’s the time to create the first component that can display the contents in both “English” and “Malayalam” languages.
Do not confuse with the Header component and Navigation component because the Navigation component is a fixed section at the extreme top and the Header is actually a part of the body section.

The language we set from the Navigation component is passed to its parent component which is App.
Now this language is passed to each component that needs to show in multiple languages.
So, the Header component needs language prop from App.
Note:- I know the above line makes you a little bit confused. Refer setting up of App.js component for getting an exact idea of passing the prop language to its children components.
In this project, we are making a website that supports both English and Malayalam language. So, to toggle between the language contents, we store them as two objects.
You can see that the title and description that we need to show in both languages are stored in two objects English and Malayalam language.
let content = {

  English: {
    title: "Lorem",
    description:
      "Lorem Ipsum is simply dummy text of the printing and typesetting industry. Lorem Ipsum has been the industry's standard dummy text ever since the 1500s, when an unknown printer took a galley of type and scrambled it to make a type specimen book."
  },

  Malayalam: {
    title: "ലോറെം ഇപ്സിയം",
    description:
      "പ്രിന്റ് ആൻഡ് ടൈപ്പുചെയ്യൽ വ്യവസായത്തിന്റെ ഡമ്മി കോഡാണ് ലോറെം ഇപ്സിയം . 1500-കൾ മുതൽ ലൊറെം ഇപ്സം വ്യവസായത്തിന്റെ സ്റ്റാൻഡേർഡ് ഡമ്മി പാഠമാണ്, അജ്ഞാതമായ ഒരു പ്രിന്റർ ഒരു തരം ഗാലക്സി എടുത്ത് ഒരു സ്പെസിഫിക്കേഷൻ ബുക്ക് ഉണ്ടാക്കാൻ അതിനെ അണിനിരത്തി"
  }

};
When the language prop comes from the parent(App), the object is selected based on the language.
 props.language === "Malayalam"
  ? (content = content.Malayalam)
  : (content = content.English);
So, {content.title} and {content.descrtiption} shows the content in the selected language.
The complete code for the Header component is shown below.
4. WhatWeDo.jsx
This component also needs to show up in multiple languages as the Header component. But the difference is that the description section of this component contains more than one paragraph. So, storing the description paragraphs in a single string and rendering will show HTML tags instead of HTML contents.
So, that we use ReactHtmlParser to parse HTML code to parsed HTML.
This can be done using the below line of code.
{ReactHtmlParser(content.whatWeDo)}
The code for the component is shown below.
5. Contact.jsx
As the same before, we created two objects containing two languages English and Malayalam. Language toggling is done with respect to the props.language value that is coming from the parent(App.js).
I also created a new file index.js inside components directory to simplify the importing of components. All the components are exported from here.
App.jsx
Now we need to set up our App.js file by importing all the components, managing the language state, and passing it to the necessary components.
So, when we select a language from the Navigation component, the language value (Malayalam/English) is passed to the parent element App.js. It is set to the state language and passed to all the components that require language toggling from here.
But the state will clear after refreshing the browser window and also the language set in the state.
But avoid this issue, I also added some extra code to store the selected language to localStorage also.
We will check if there is a field called the language in our browser’s localStorage when initializing the state language.
If language exists in localStorage, it will set in the state language and if not, “English” will set as a default.
let languageStoredInLocalStorage = localStorage.getItem("language");

let [language, setLanguage] = useState(languageStoredInLocalStorage ? languageStoredInLocalStorage : "English");
The below function will execute if you change the language from navigation component.
- setLanguage(language)
- storeLanguageInLocalStorage(language)
handleSetLanguage={language => {
  setLanguage(language);
  storeLanguageInLocalStorage(language);
}}
setLanguage(language) sets the language value to state language. and the storeLanguageInLocalStorage(language) is a function that sets the language value to localStorage.
 function storeLanguageInLocalStorage(language) {
  localStorage.setItem("language", language);
}
If you are not really aware of the setting and getting of localStorage values, Mr.Mosh Hamedani’s How to use localStorage with React article may help you.
Also, you can test is from the inspect bar of your browser.

So we have completed the project and the last component App.js we have created looks like below.
Codesandbox
Refer to the CodeSandbox link to view the live app.
https://codesandbox.io/s/confident-blackburn-ud8r7
GitHub
You can always refer to the GitHub repository to clone this project.
https://github.com/techomoro/ReactMultiPageWebsite
Summary
Creating a multi-language application using React is simple. We have created it with the help of Hooks. Hooks is not necessary to do this, but it can deliver us a cleaner code. We also confirmed that the selected language won’t lose after a refresh, with the help of our browser’s localStorage.

I think this article needs some updates
– you are using class instead of className.
– passing down functions as props could be simplified like
handleSetLanguage={handleSetLanguage}
Thank you for all your hard work on this
Thank you for your Blog. It is so helpful for me